> ## Documentation Index
> Fetch the complete documentation index at: https://docs.dfns.co/llms.txt
> Use this file to discover all available pages before exploring further.
# Manage vaults
> Create a vault, add networks, receive and release quarantined funds, and send assets from the DFNS dashboard, including transfers that require policy approval.
A [vault](/core-concepts/vaults-wallets-and-keys#vaults-managed-custody-on-top-of-wallets) is a managed, multichain custody primitive with institutional accounting: incoming funds are quarantined until you release them, balances are split into available, incoming, quarantined, and locked, and every change is recorded in an immutable ledger. This guide walks through each vault action from the dashboard. For the balance model and when to use a vault over a wallet, see [Vaults, wallets & keys](/core-concepts/vaults-wallets-and-keys). For the API, see the [Vaults reference](/api-reference/vaults/create-vault).
 ## Create a vault
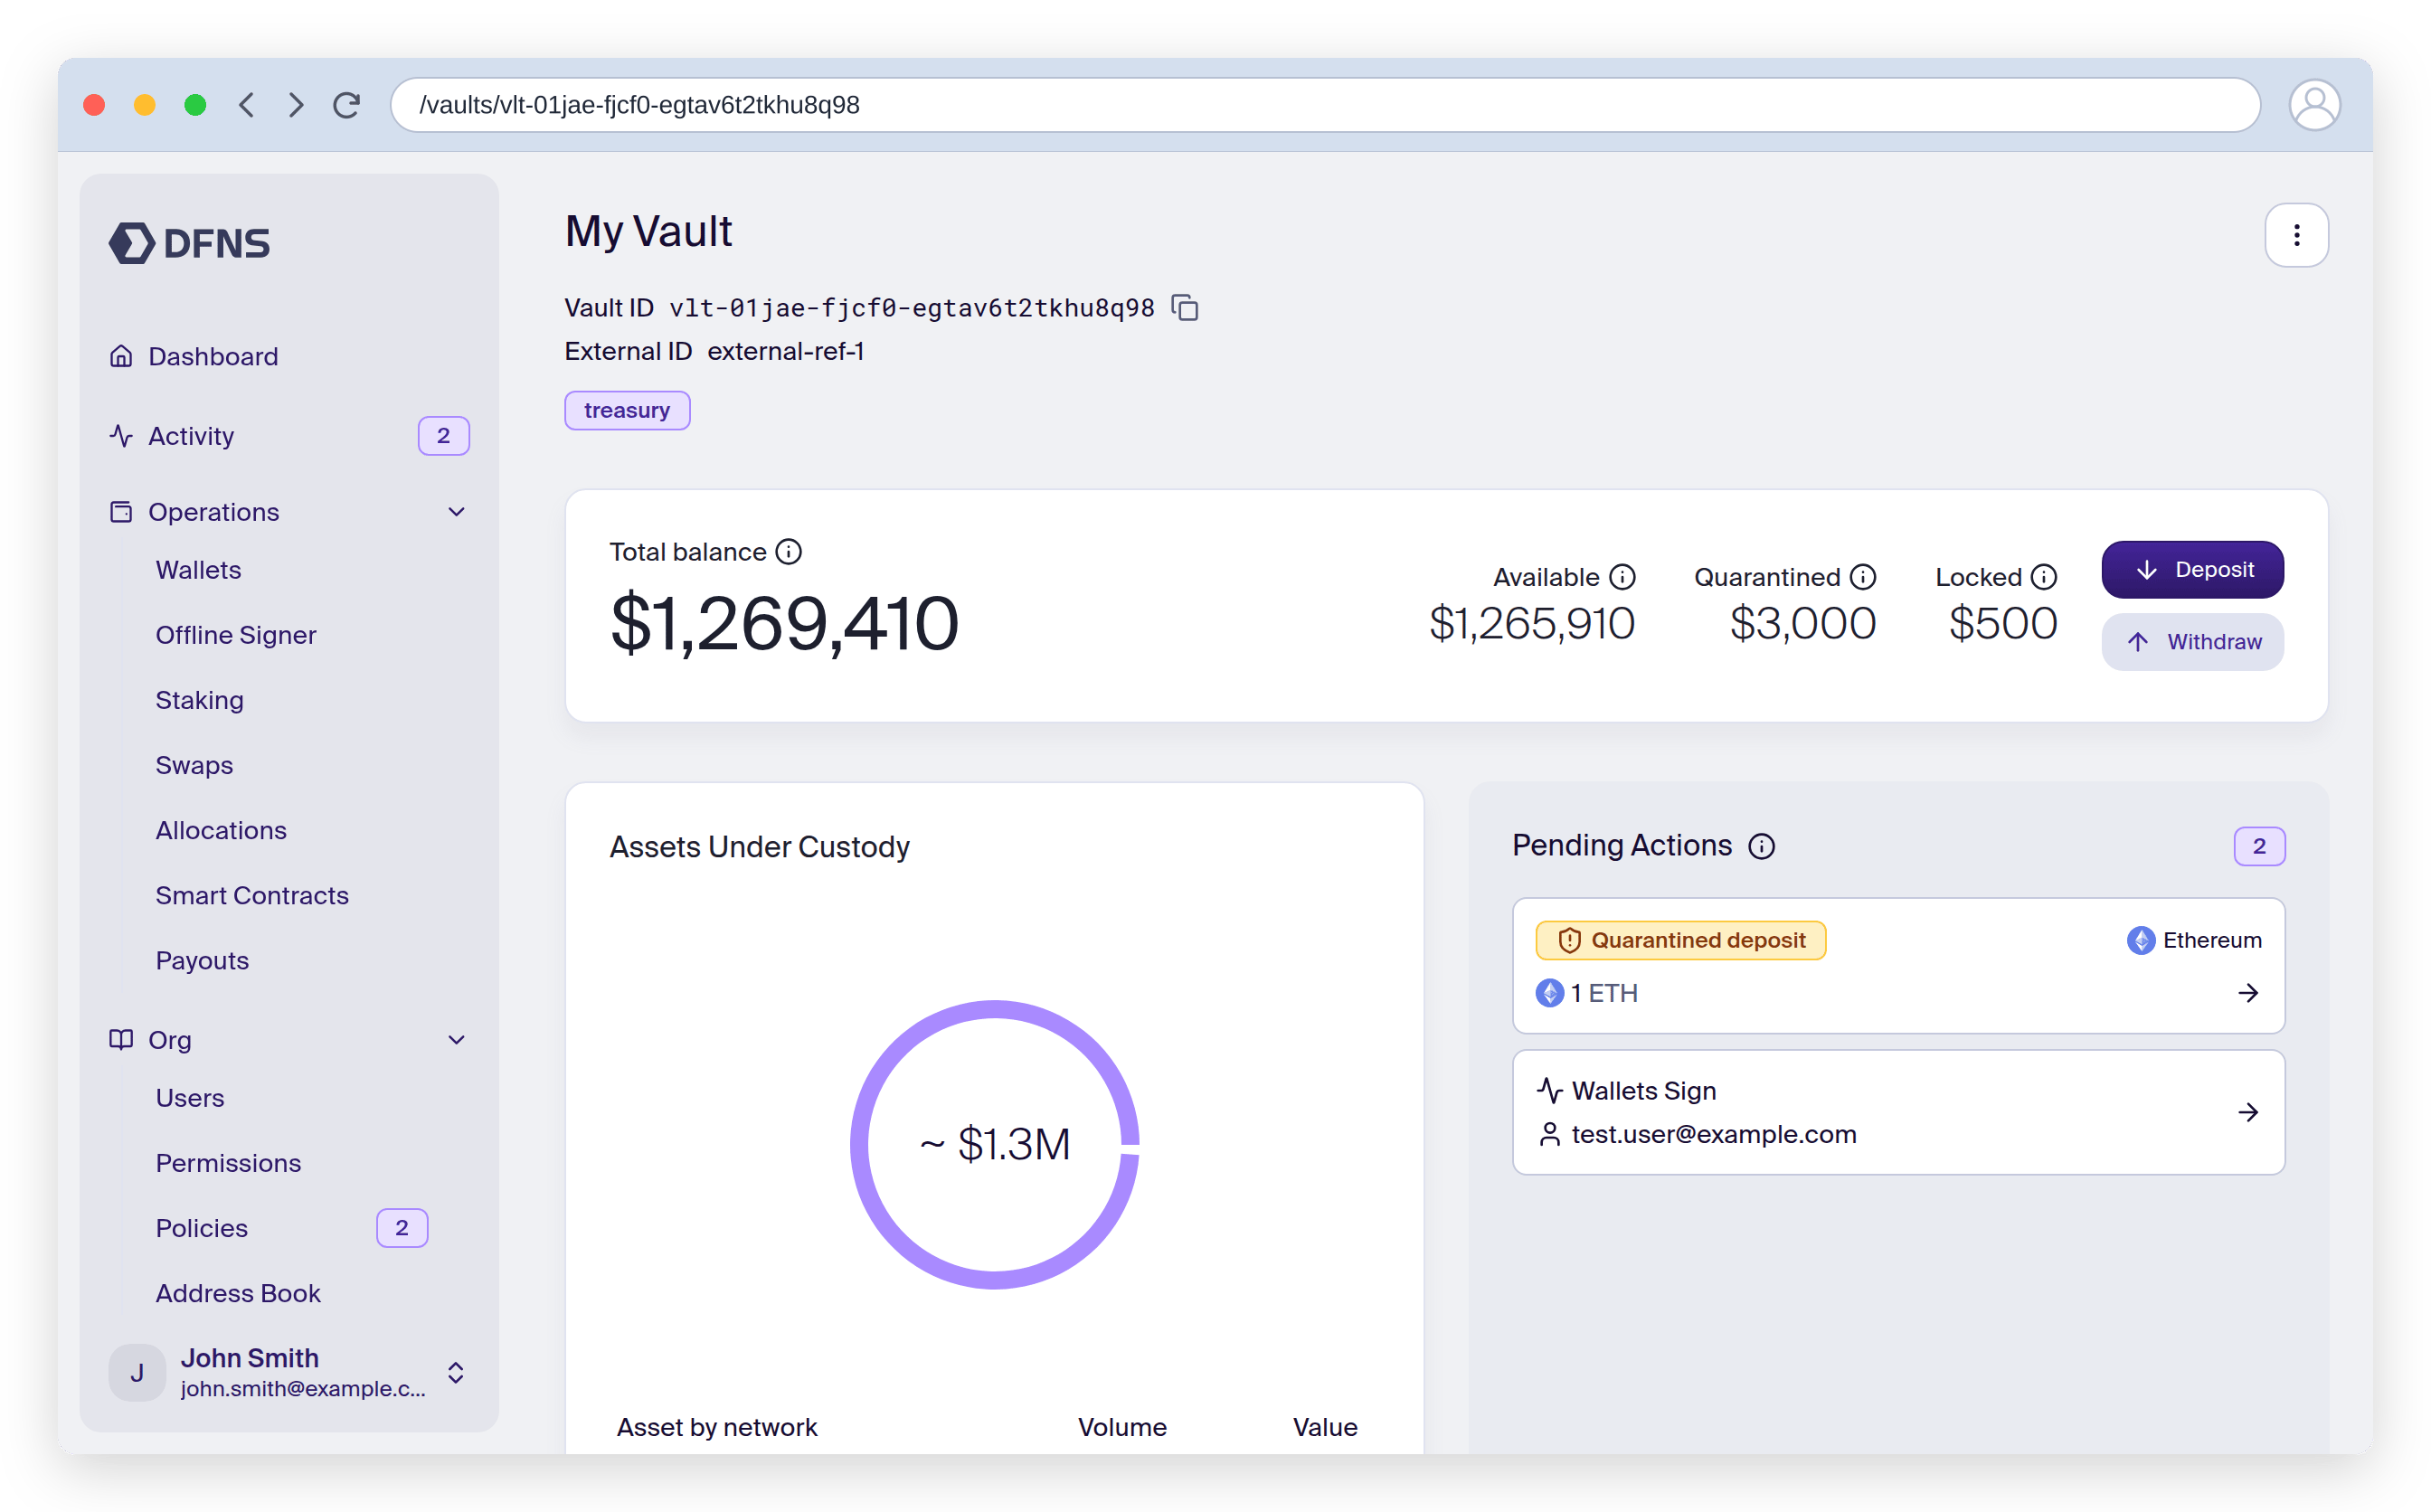
In the dashboard, go to **Vaults**. The list shows every vault in your organization; filter it by tag to narrow the view.
## Create a vault
In the dashboard, go to **Vaults**. The list shows every vault in your organization; filter it by tag to narrow the view.
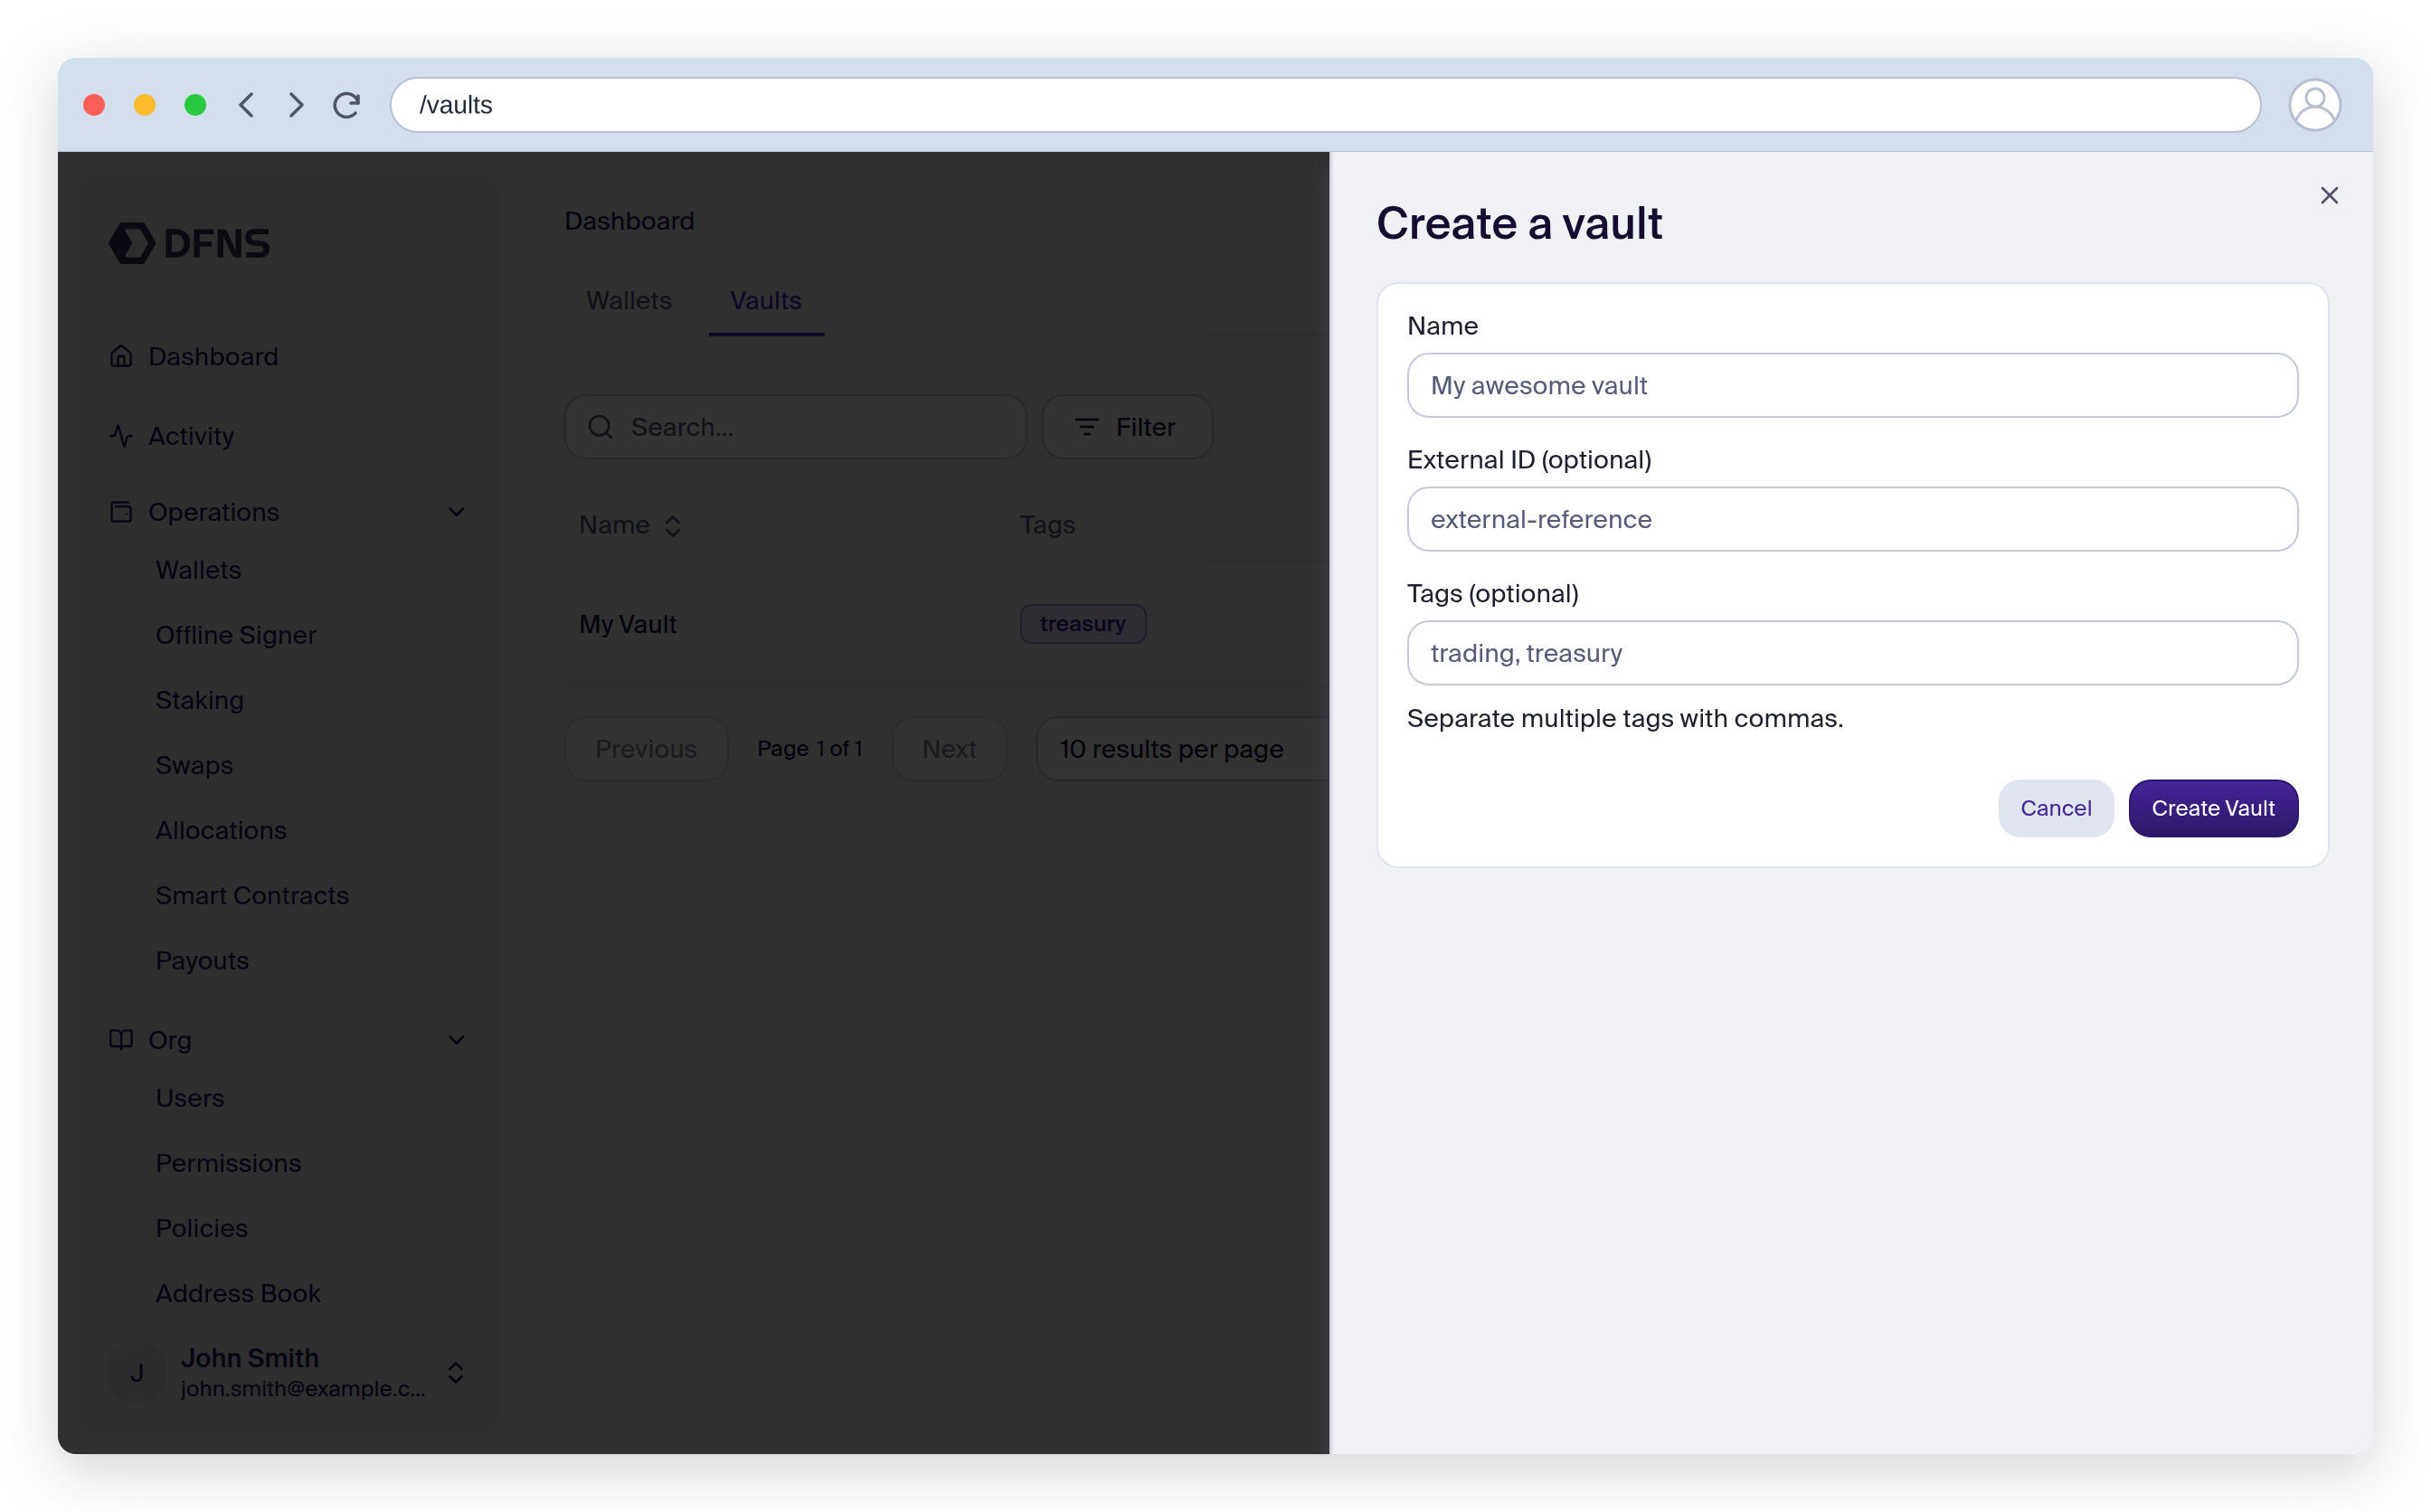
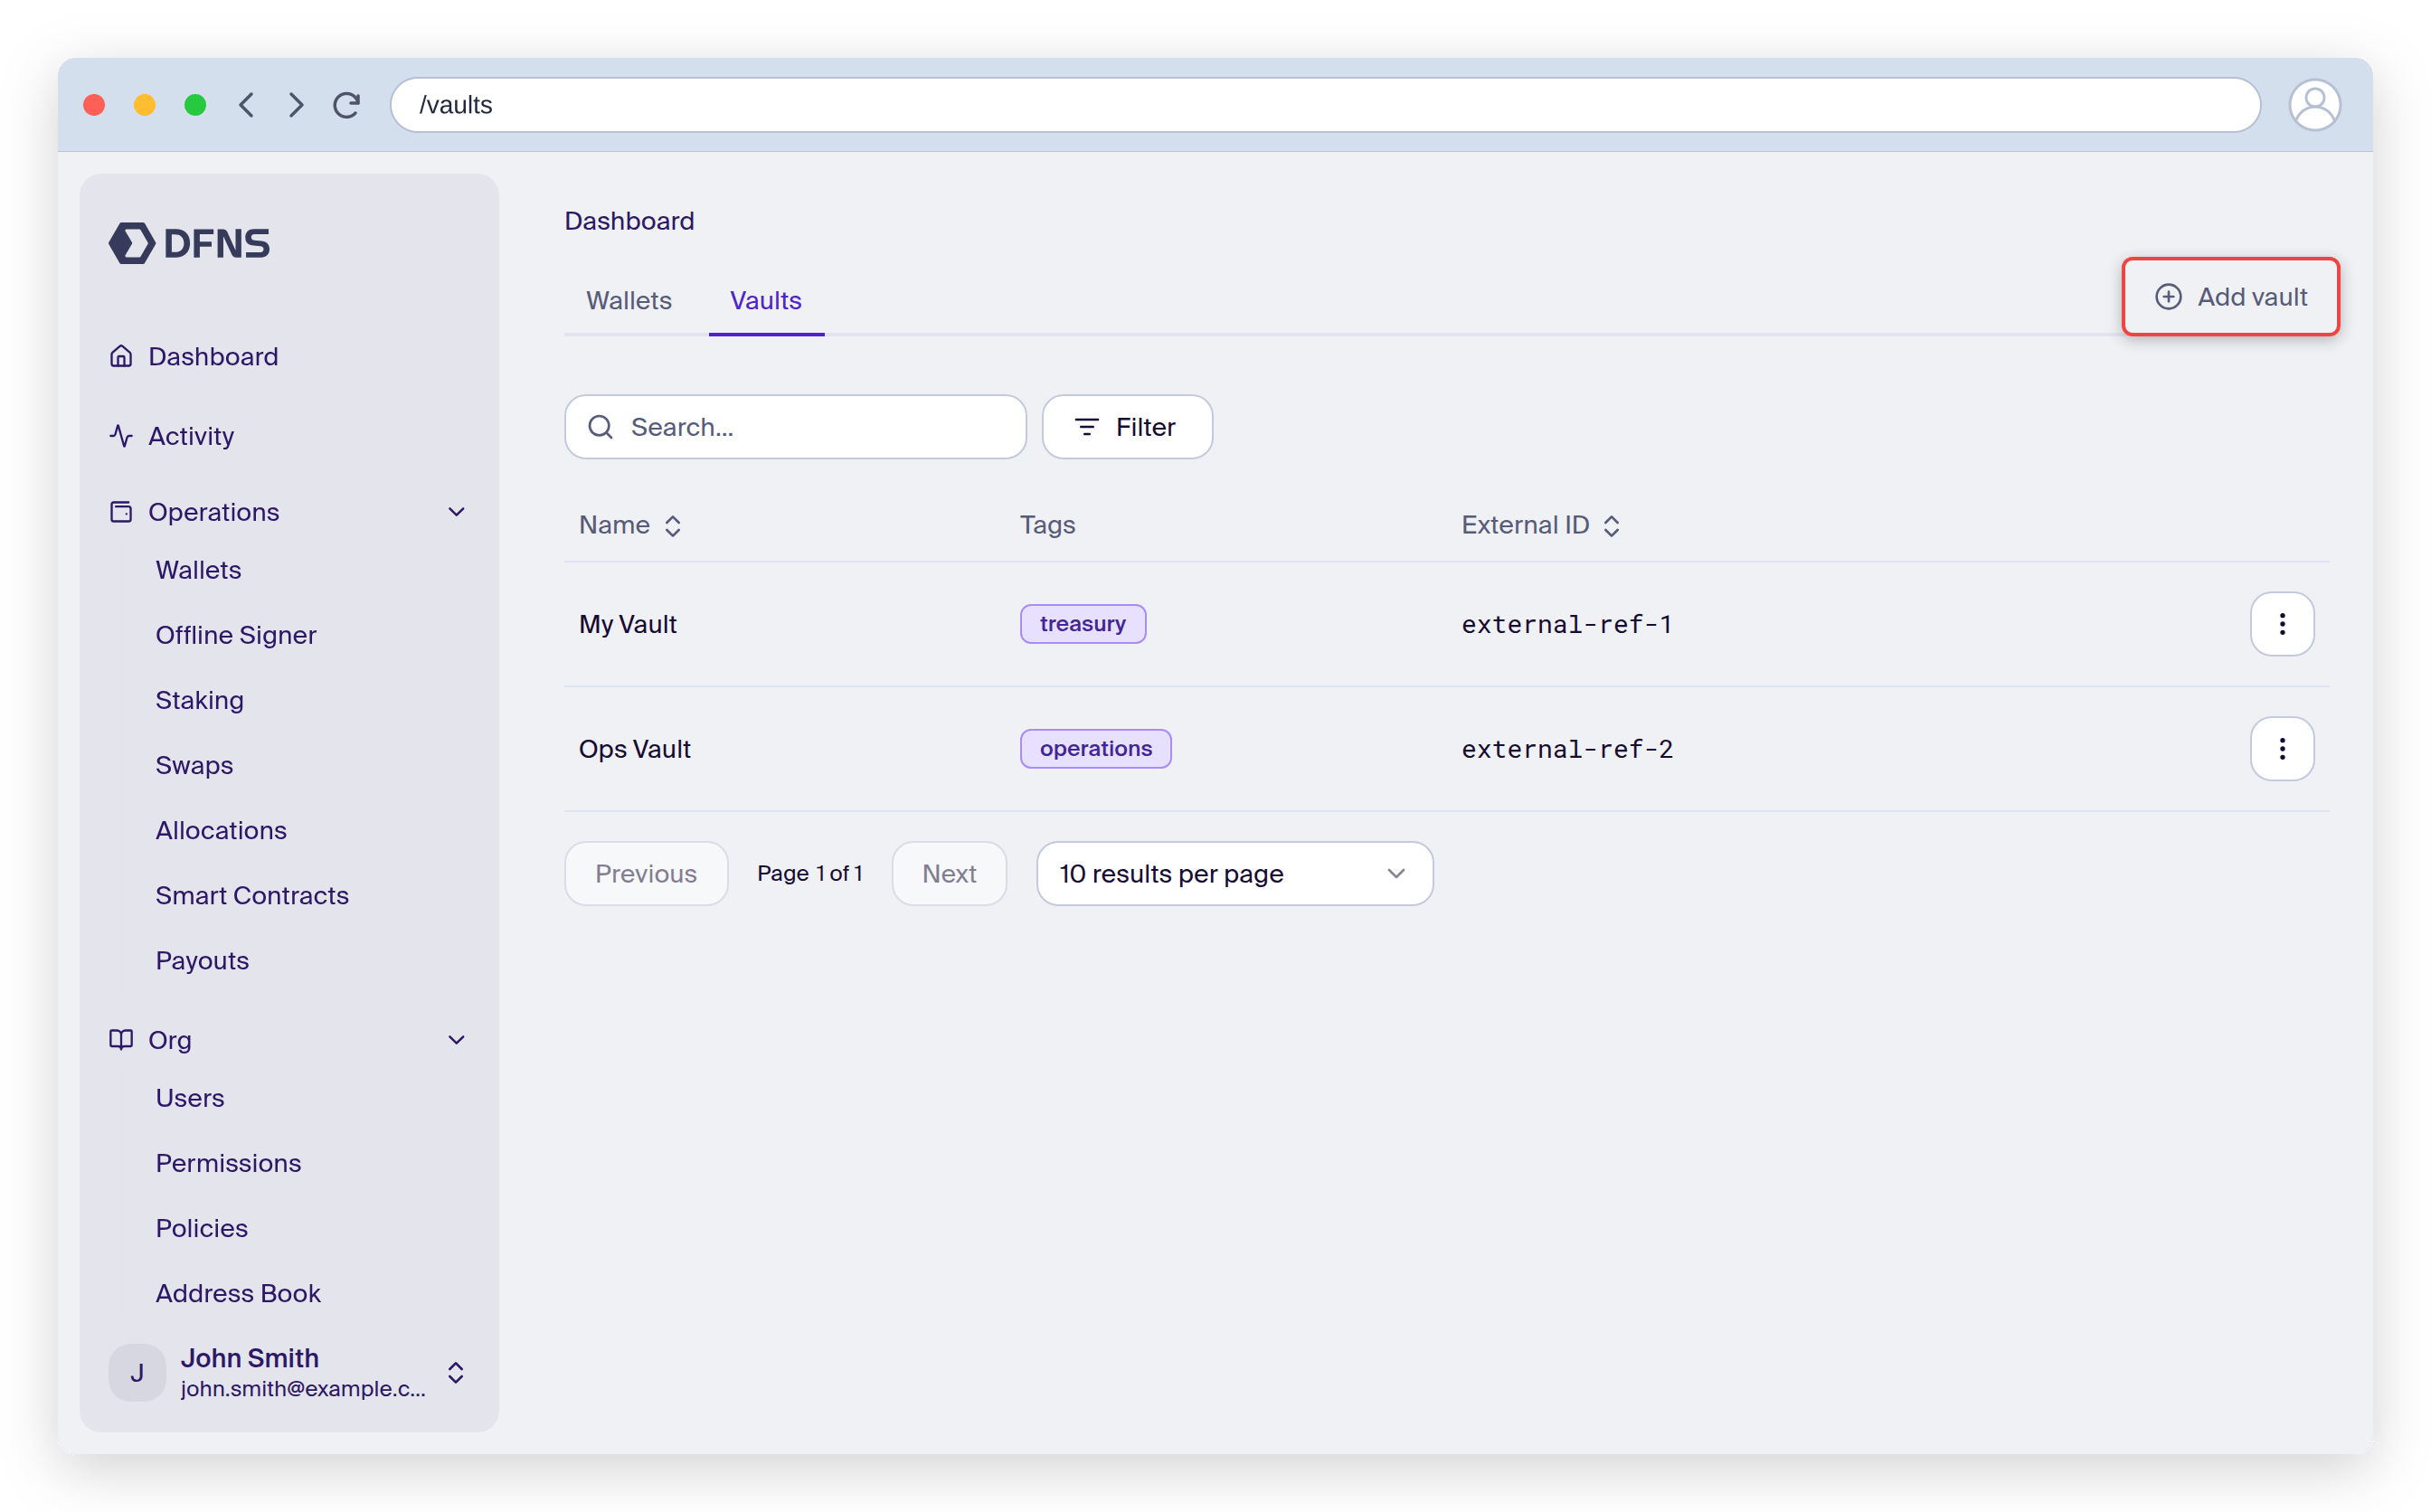 Select **Create vault**, give it a name, and optionally add tags to organize it. The new vault opens with no networks yet.
 ## Add a network
On the vault, select **Add network** and choose an EVM network. DFNS creates a managed address for the vault on that network.
## Add a network
On the vault, select **Add network** and choose an EVM network. DFNS creates a managed address for the vault on that network.
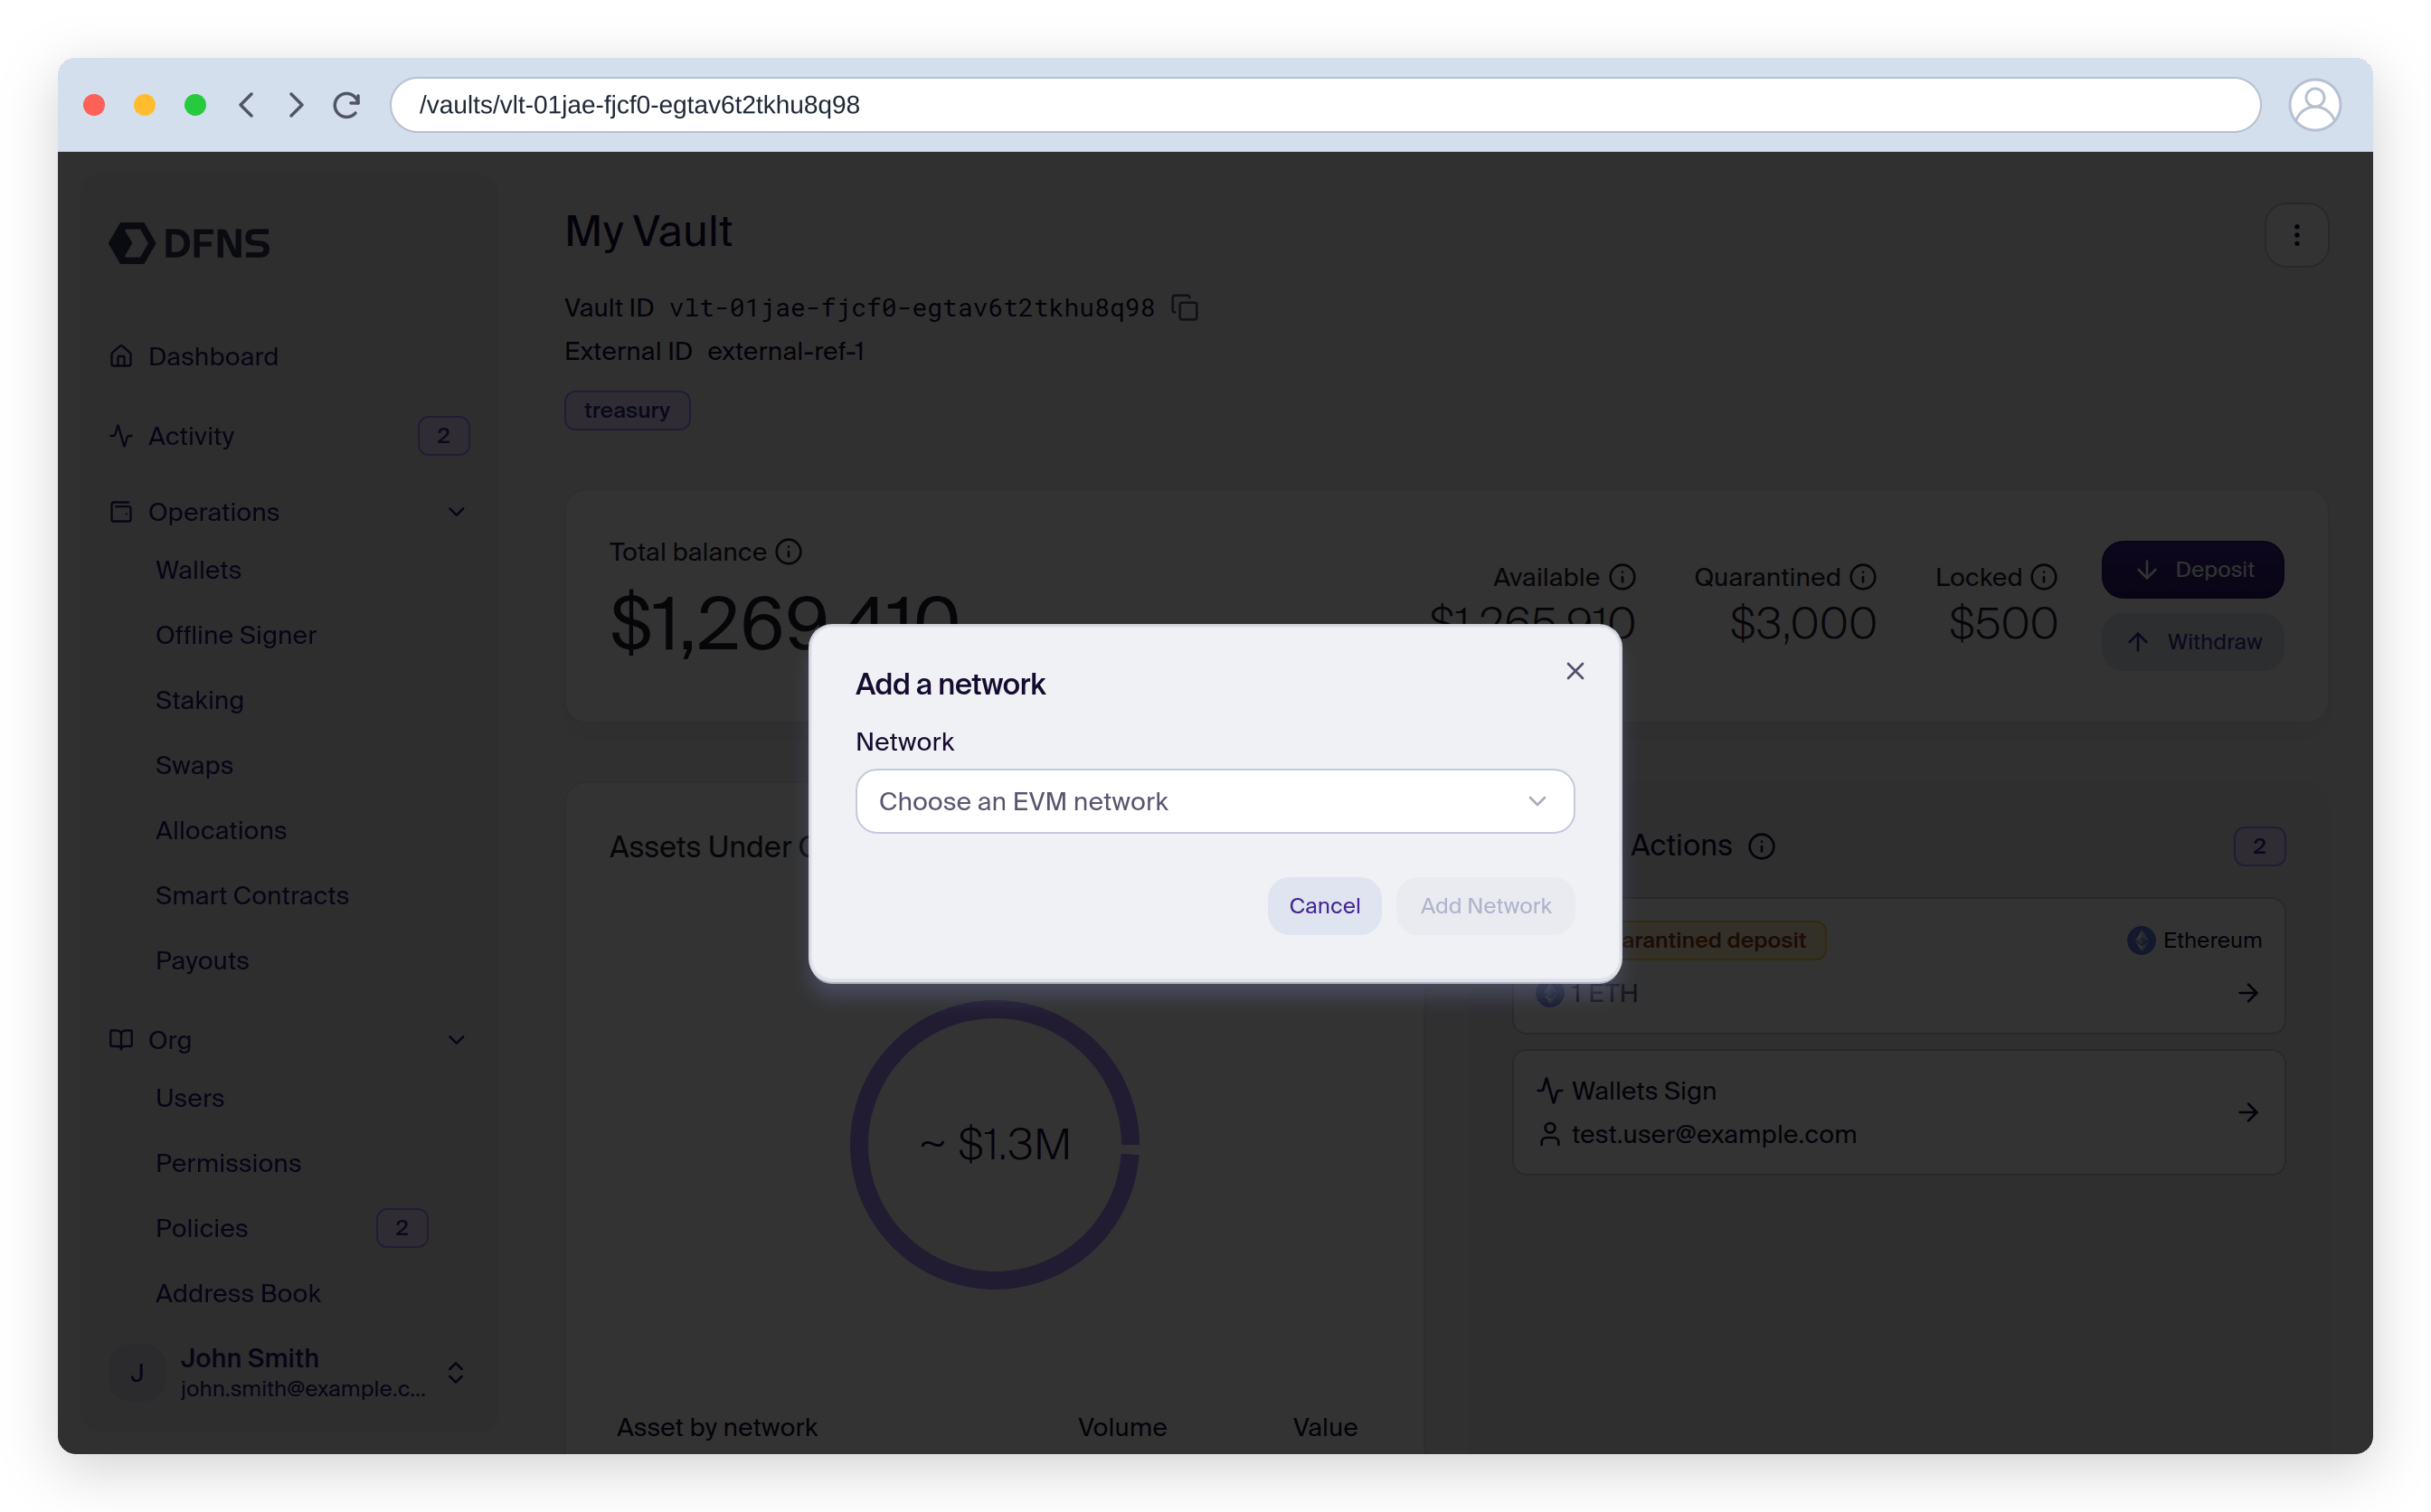 Add each network you need. Each address is a deposit point for that network under the same vault balance sheet.
## Receive funds
Select **Deposit** to display the vault's address for the chosen network, with a QR code.
Add each network you need. Each address is a deposit point for that network under the same vault balance sheet.
## Receive funds
Select **Deposit** to display the vault's address for the chosen network, with a QR code.
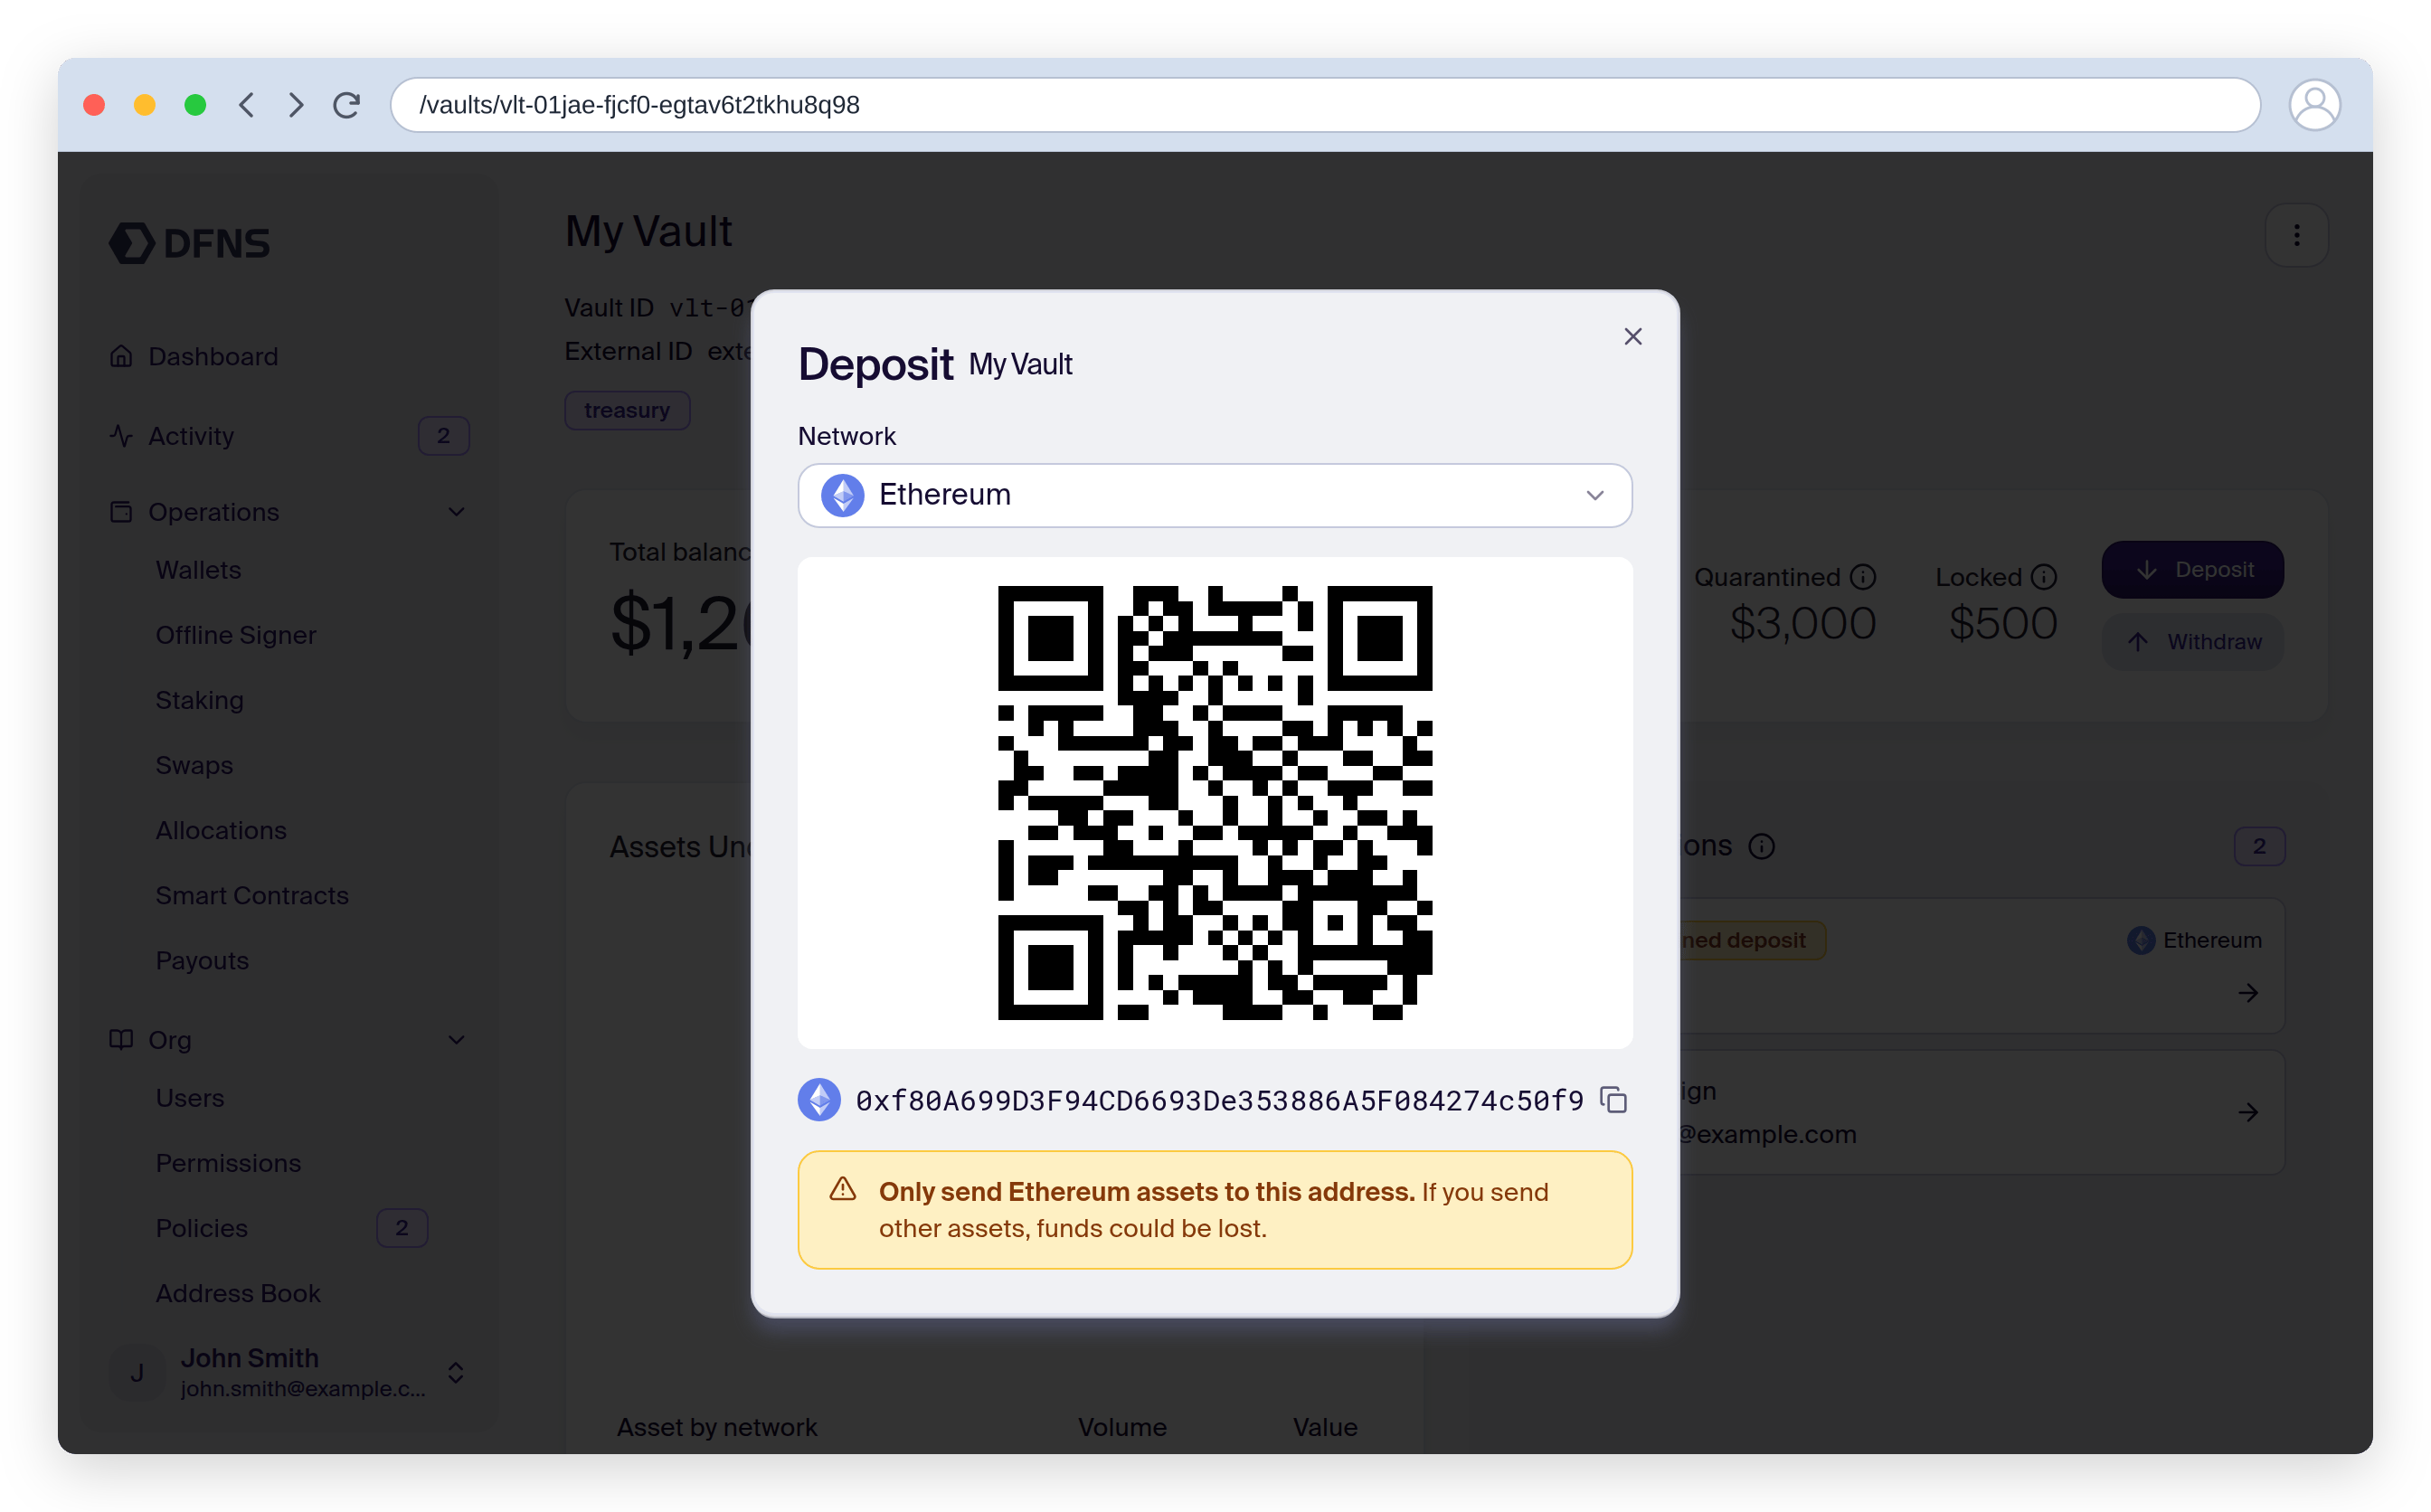 Funds sent to the address arrive **quarantined** — they appear in the vault's incoming and quarantined balances, not the available balance.
## Review and release quarantined funds
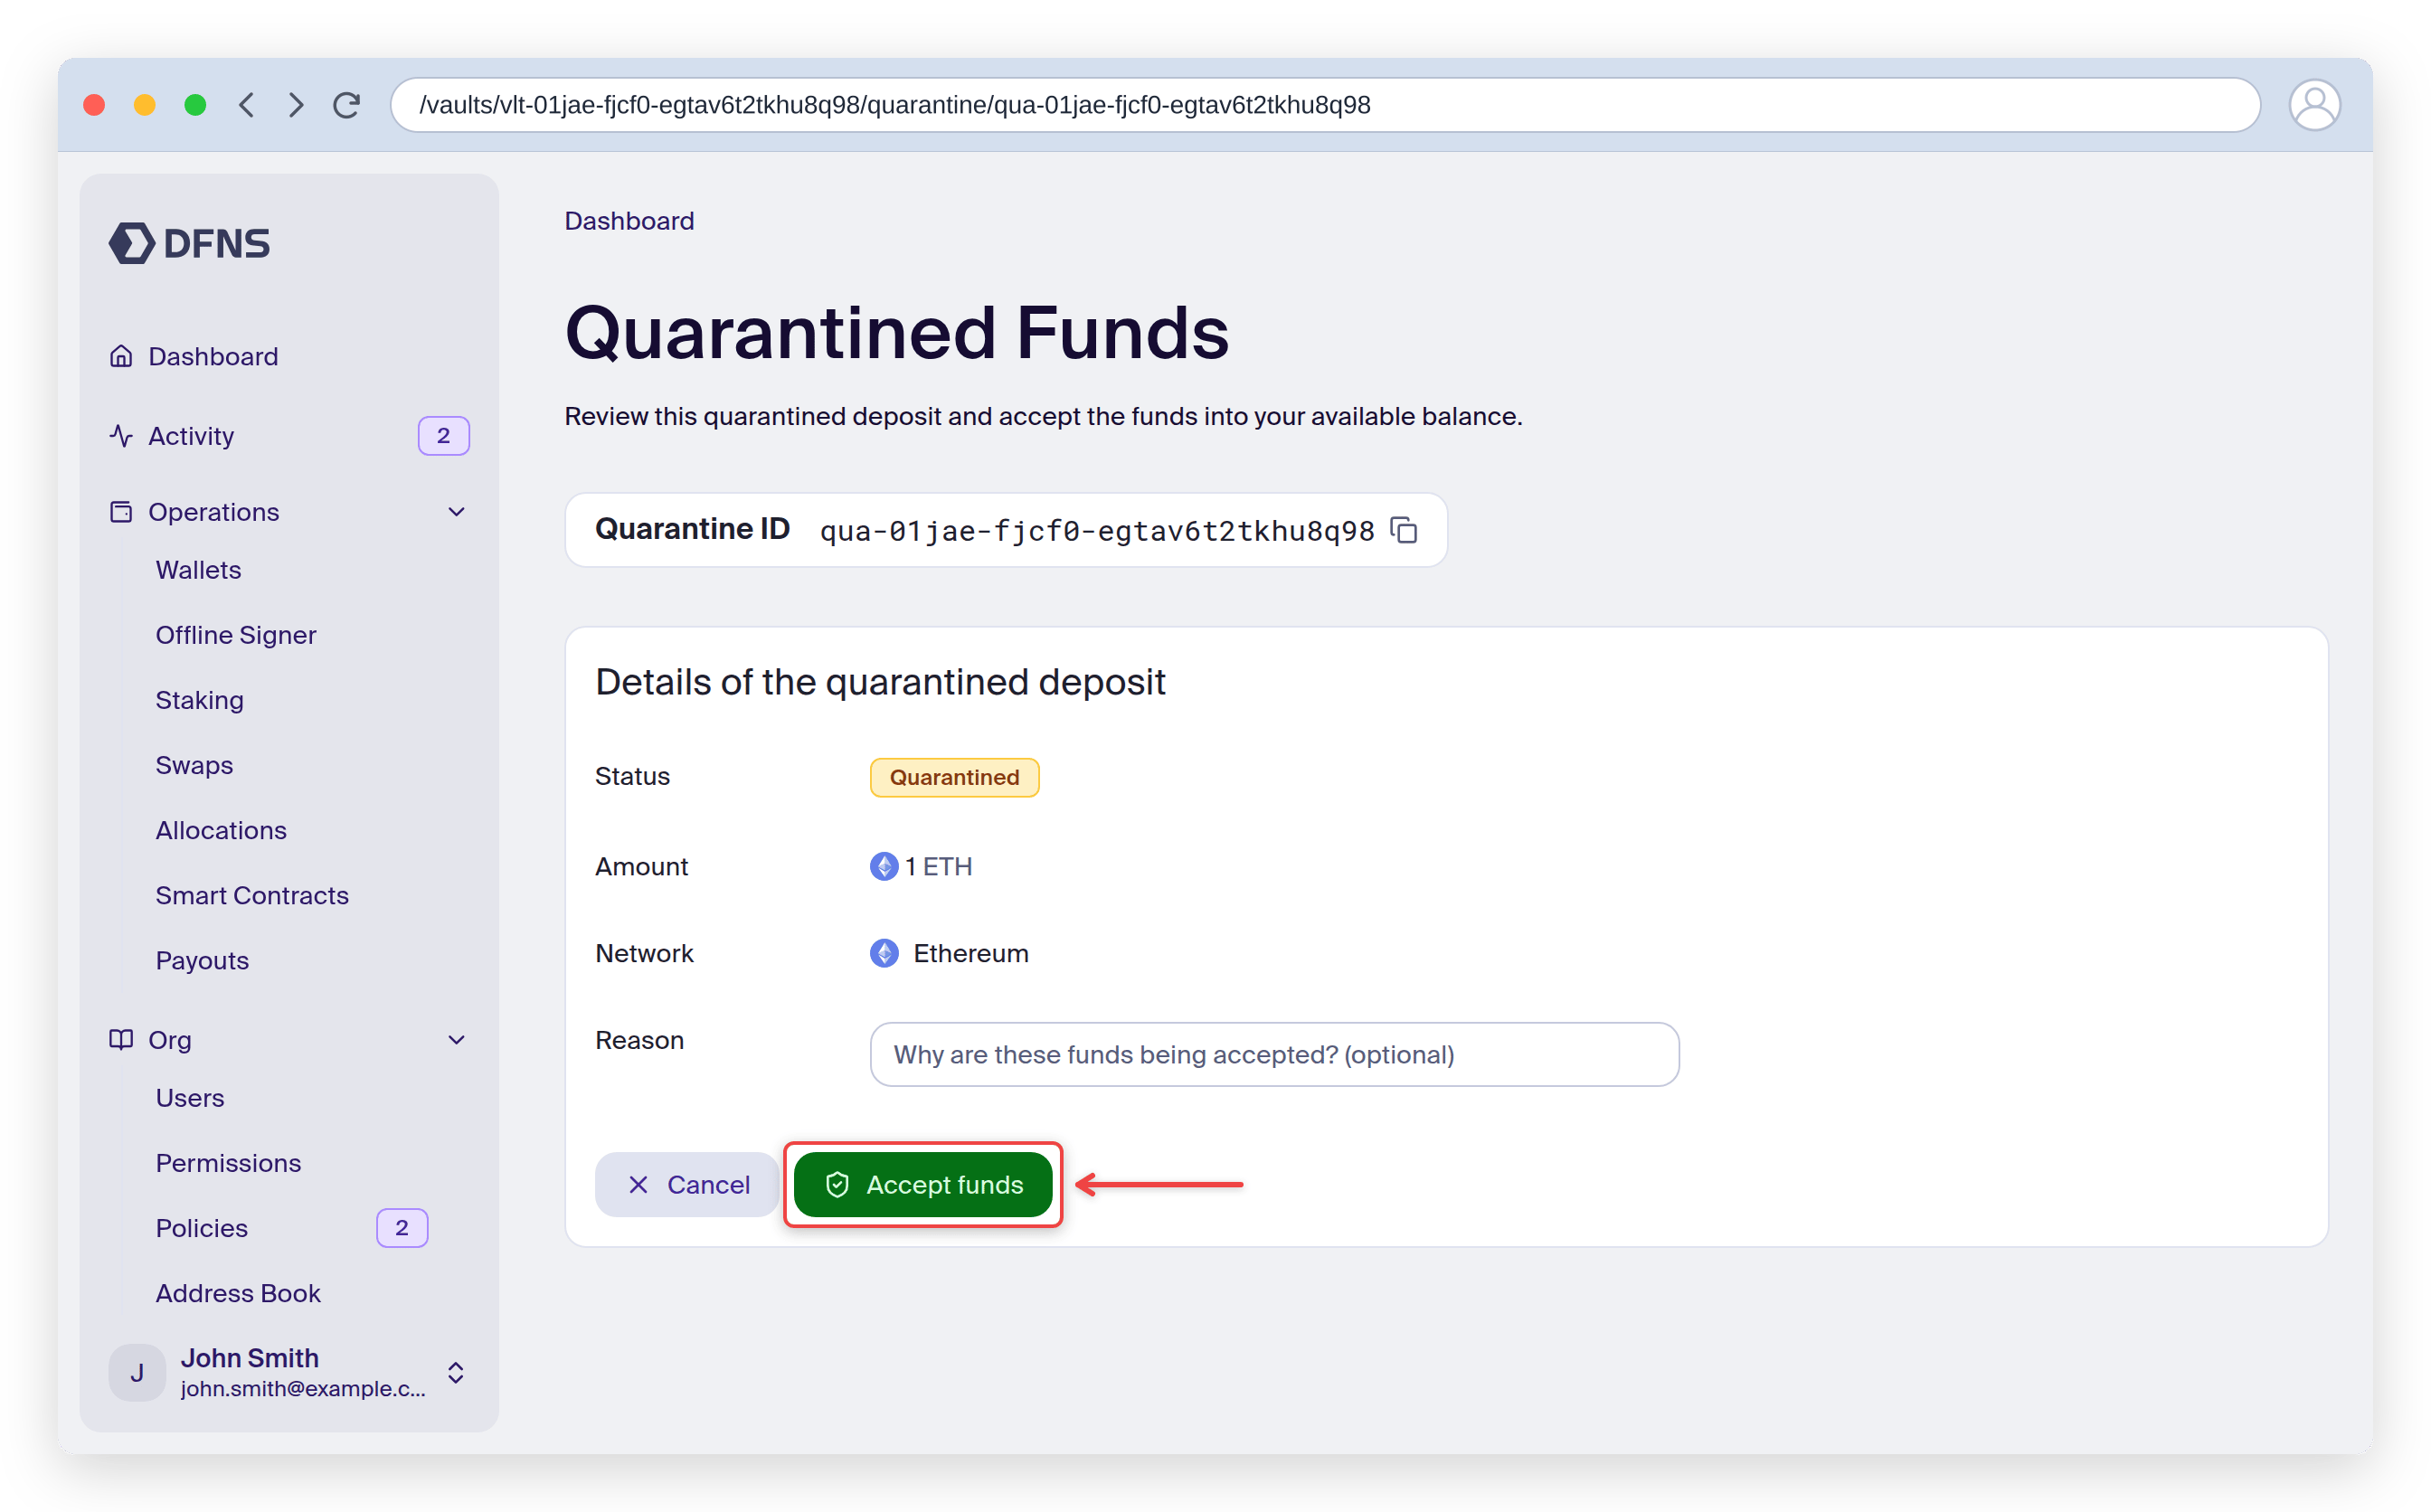
The vault surfaces pending actions, including quarantined deposits awaiting review. Open a quarantine entry to see its details.
Select **Accept funds** to move the deposit into the vault's available balance, where it can be transferred. Every incoming deposit is quarantined on arrival, and releasing it is a manual, signed action.
Funds sent to the address arrive **quarantined** — they appear in the vault's incoming and quarantined balances, not the available balance.
## Review and release quarantined funds
The vault surfaces pending actions, including quarantined deposits awaiting review. Open a quarantine entry to see its details.
Select **Accept funds** to move the deposit into the vault's available balance, where it can be transferred. Every incoming deposit is quarantined on arrival, and releasing it is a manual, signed action.
 ## Send or withdraw funds
Select **Send** (or **Withdraw**), then pick a funded asset. Only assets with an available balance can be transferred.
## Send or withdraw funds
Select **Send** (or **Withdraw**), then pick a funded asset. Only assets with an available balance can be transferred.
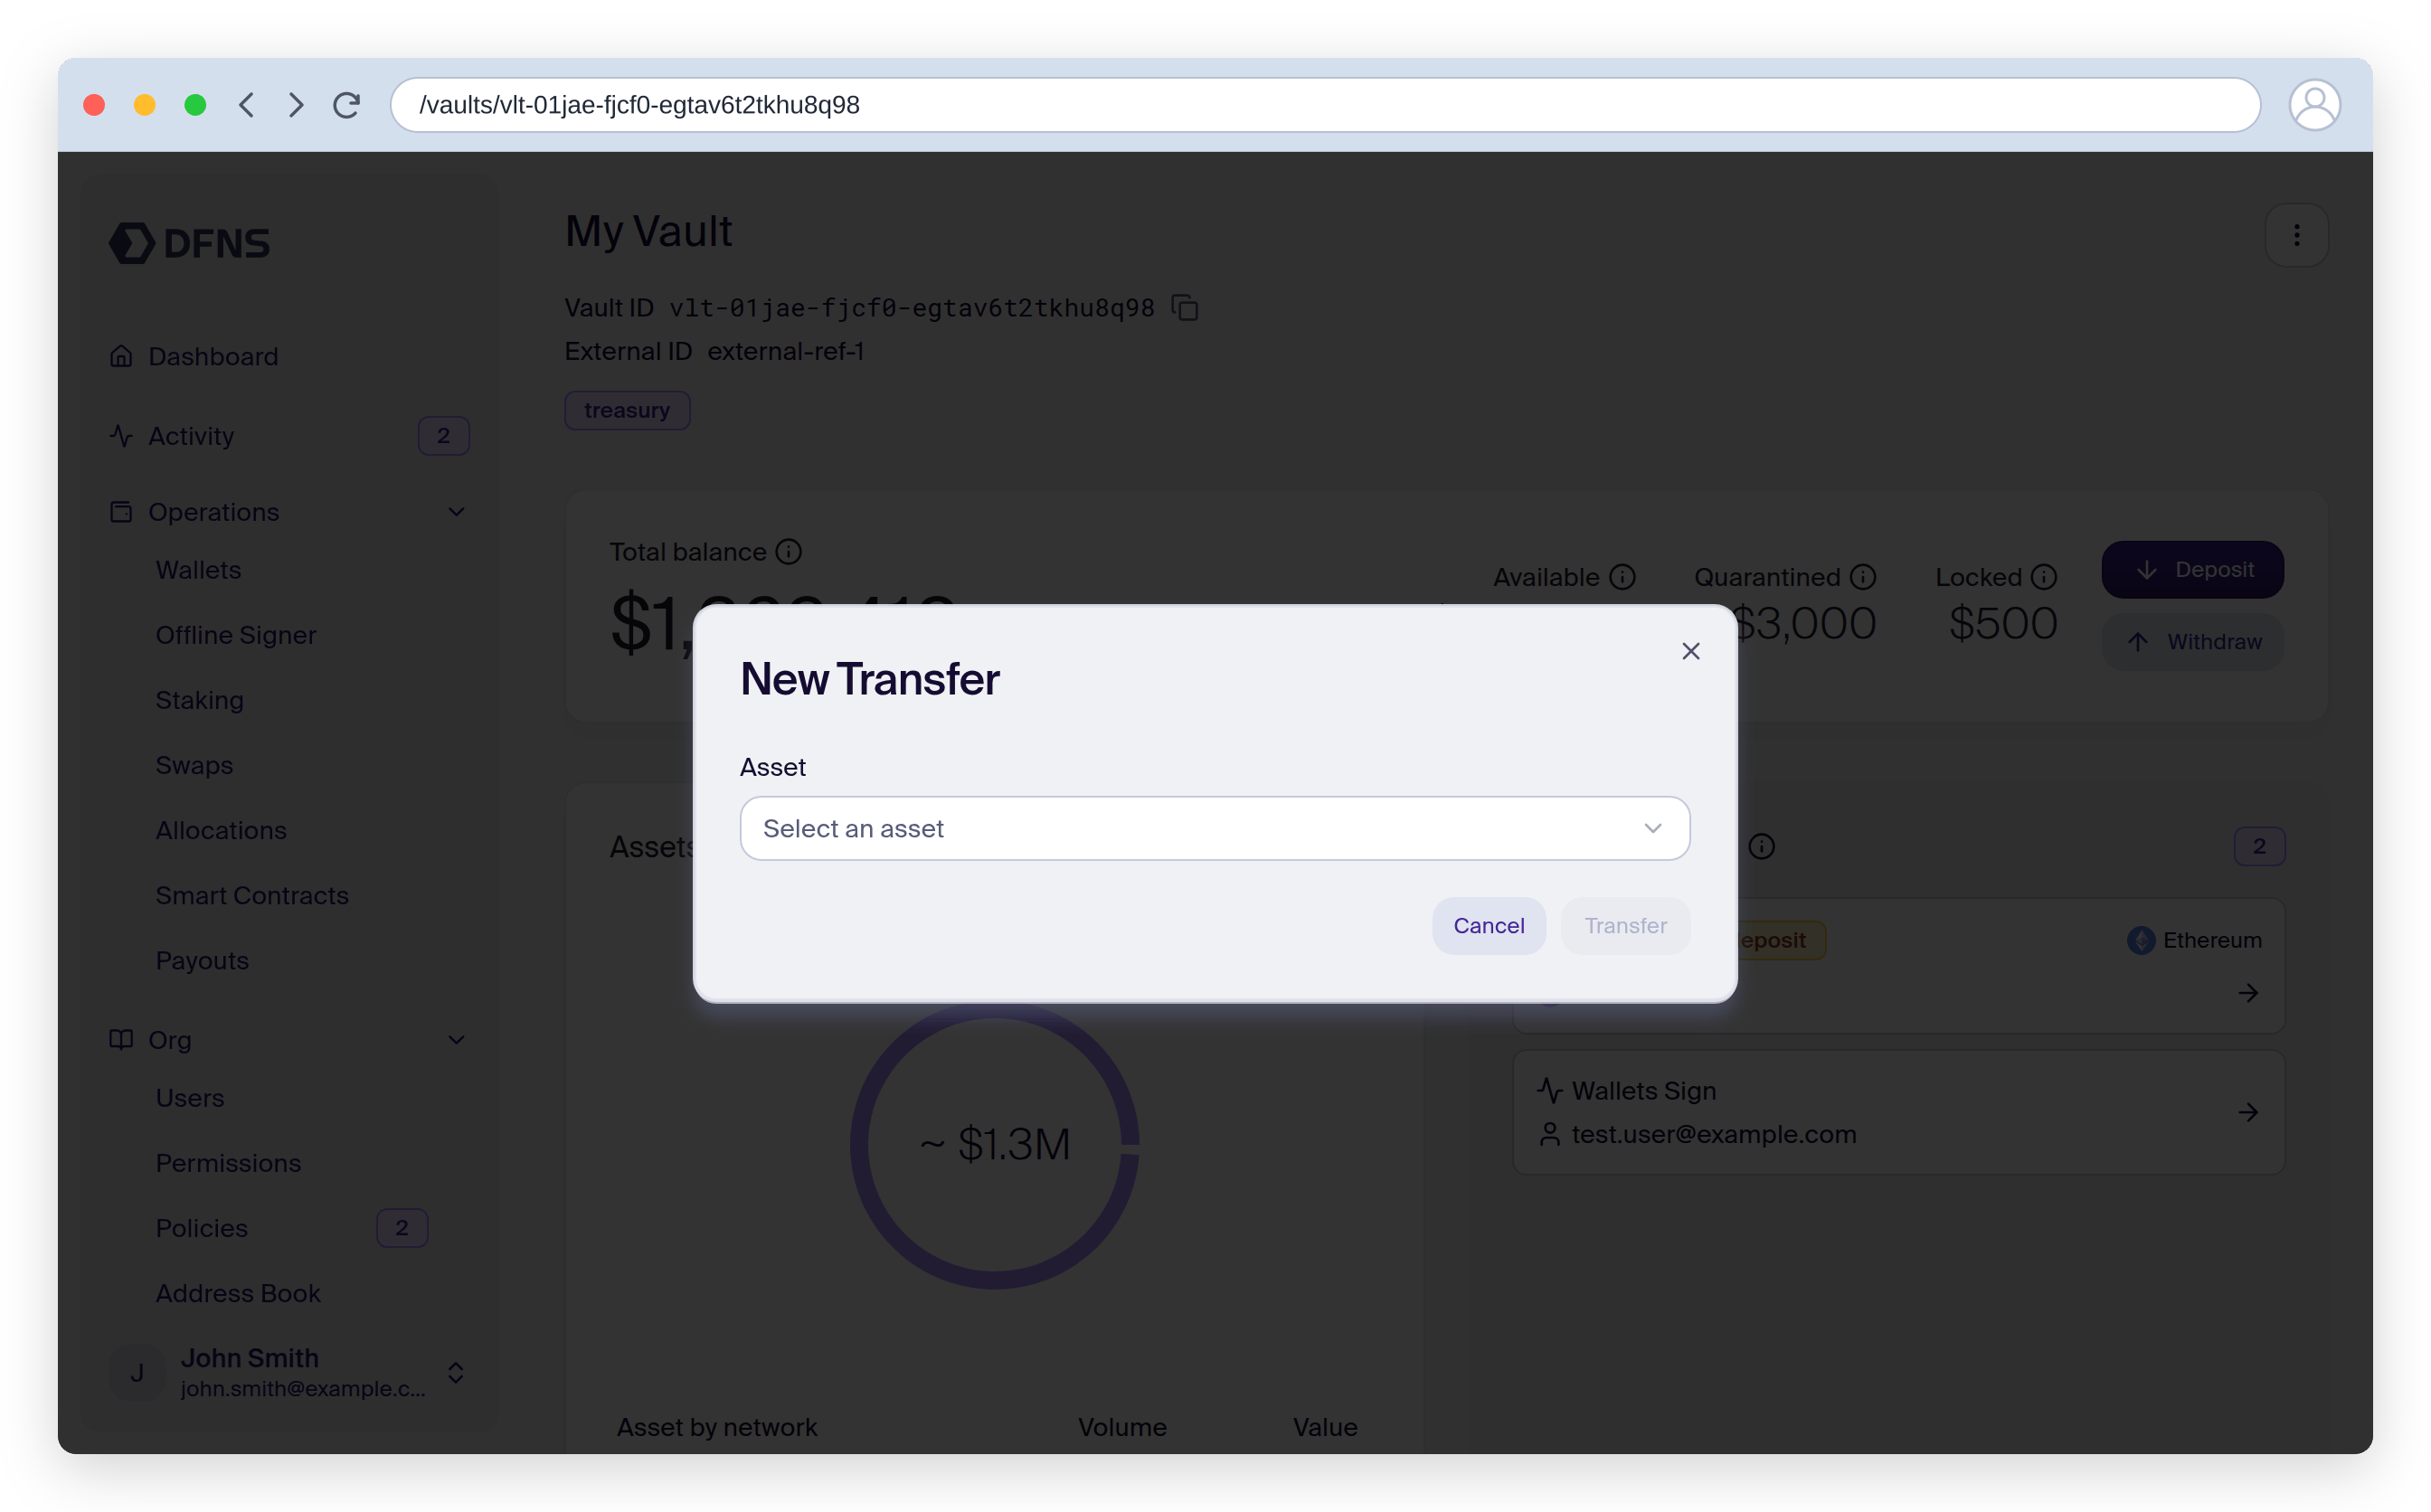 Enter the destination address and amount, then review the transfer summary.
Confirm the transfer. The amount is reserved (locked) while the transfer is pending, then debited from the available balance once it settles. If a [signing policy](/guides/signing-policies) applies, the transfer first requires approval — the dashboard shows step-by-step status as each approval completes.
## Rename a vault or edit its tags
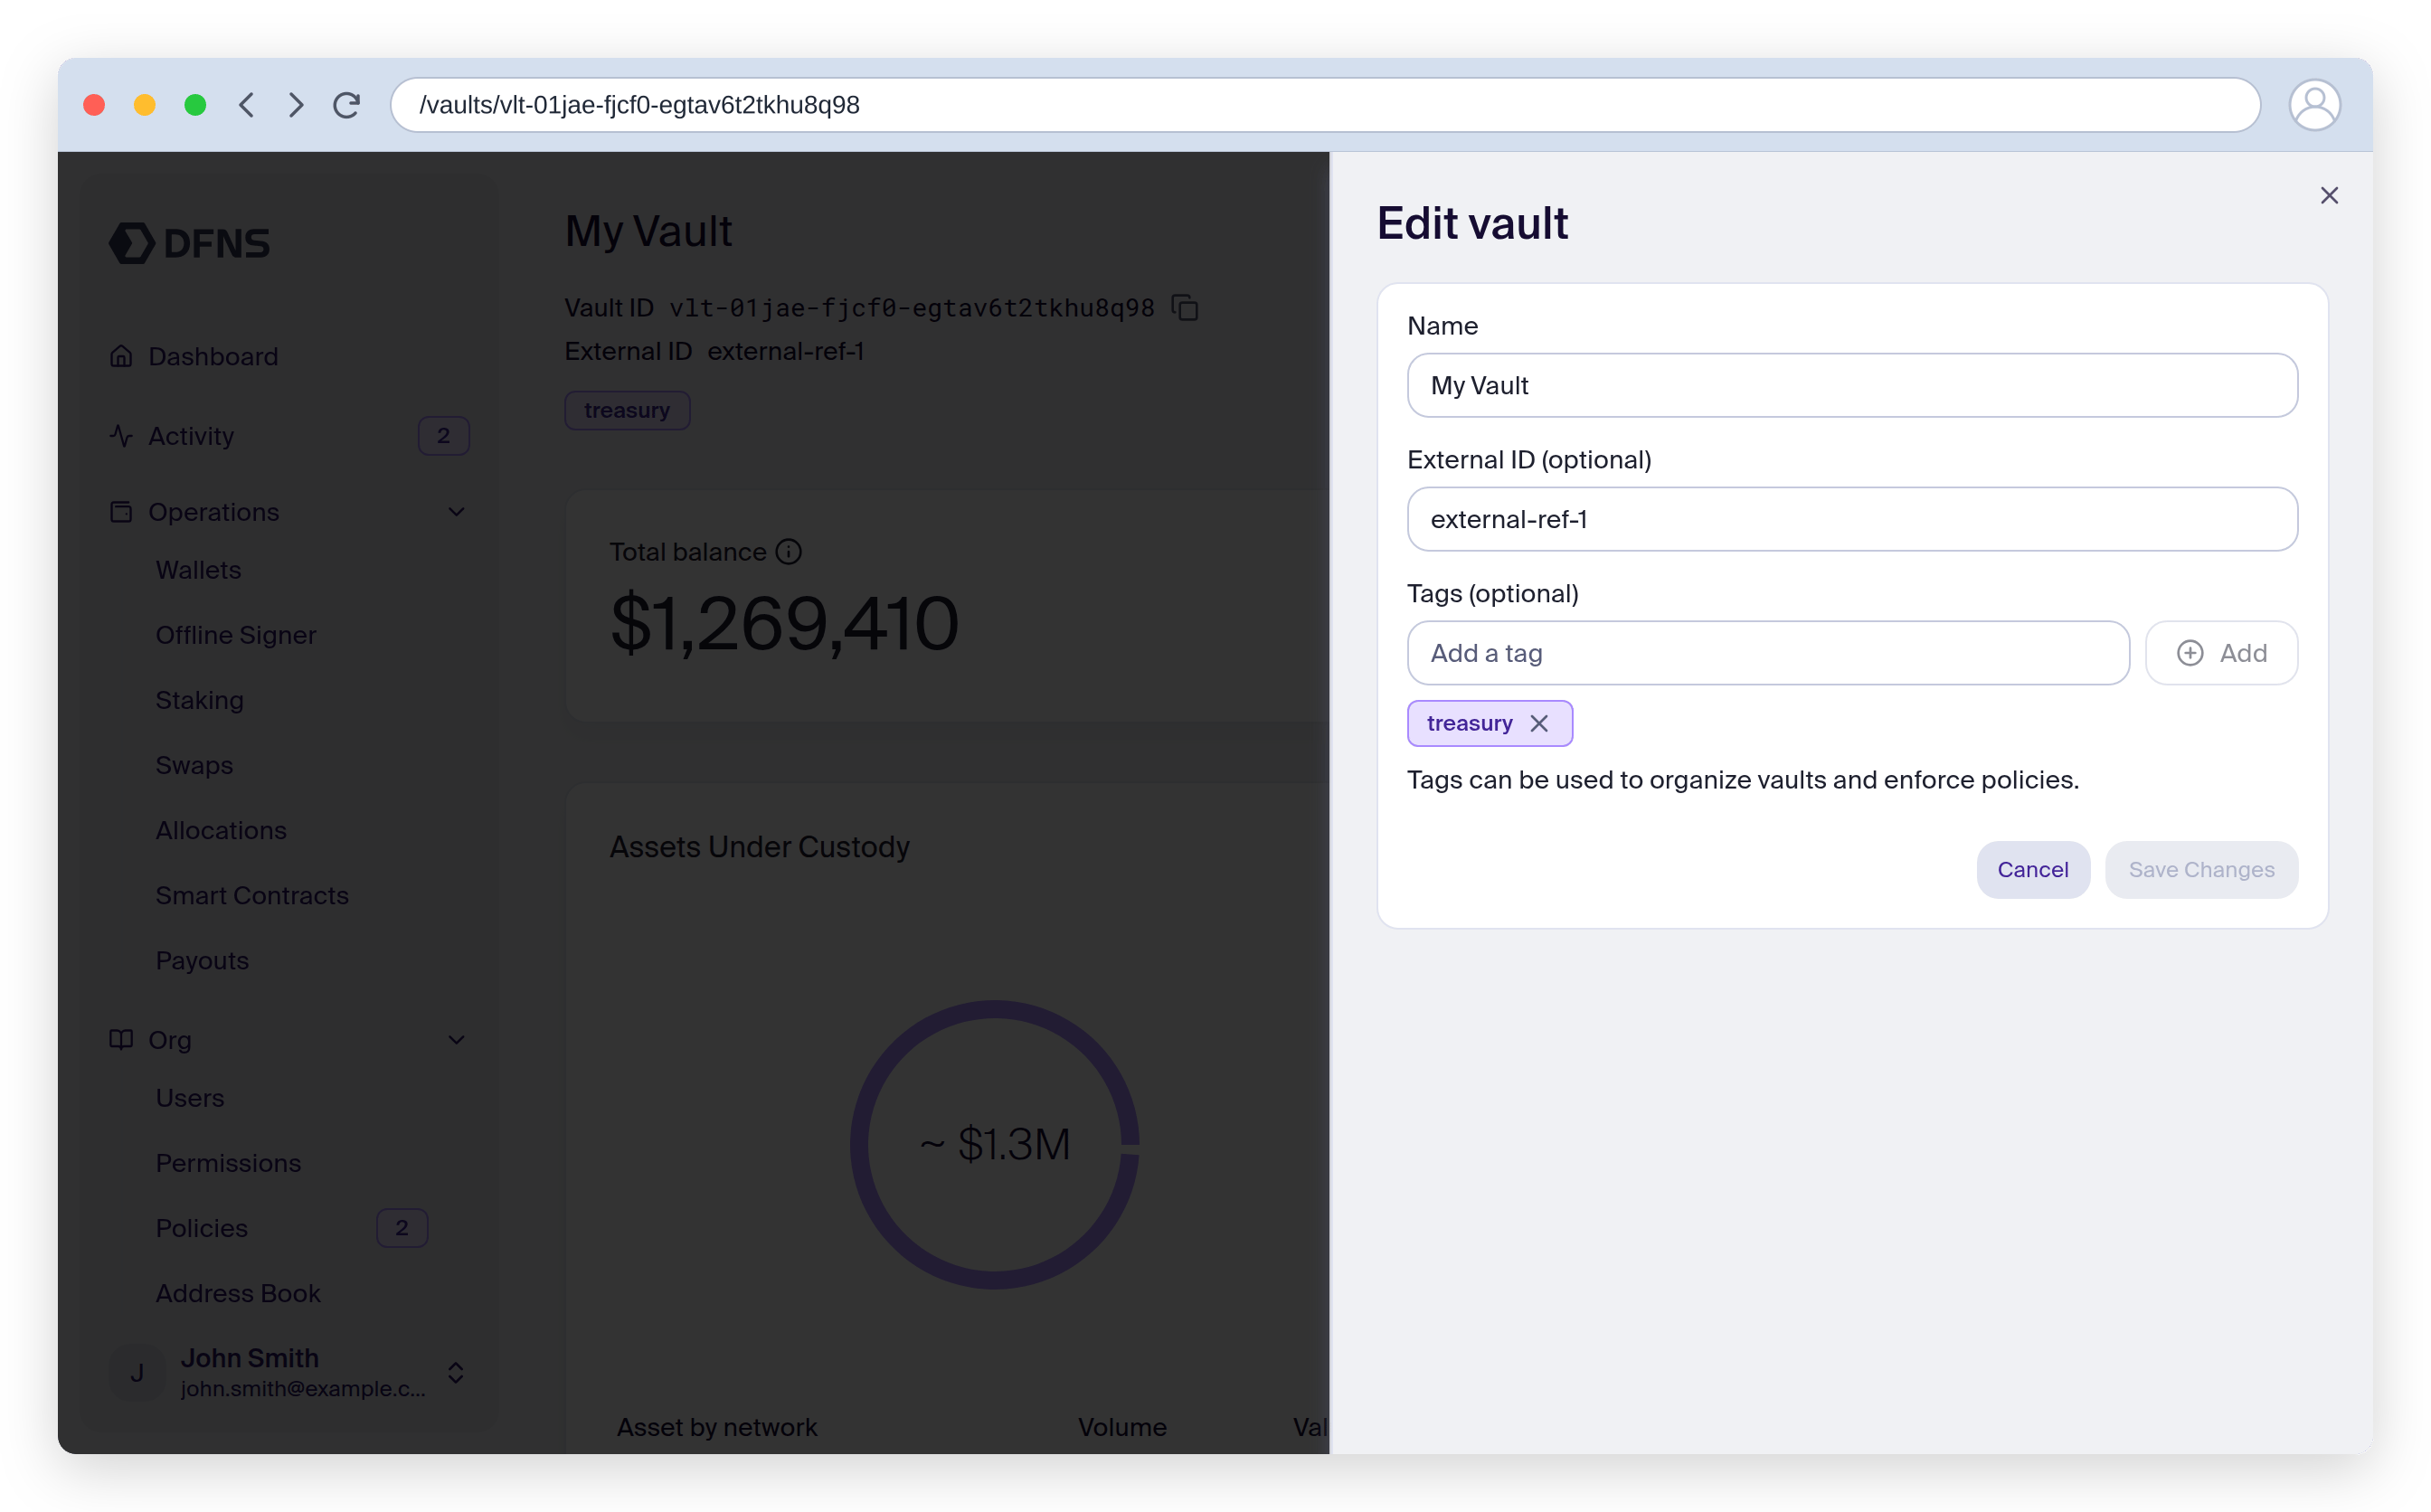
From the vault header, choose **Rename** or **Edit tags**, then confirm. Renaming and editing tags each take a single signed action.
Enter the destination address and amount, then review the transfer summary.
Confirm the transfer. The amount is reserved (locked) while the transfer is pending, then debited from the available balance once it settles. If a [signing policy](/guides/signing-policies) applies, the transfer first requires approval — the dashboard shows step-by-step status as each approval completes.
## Rename a vault or edit its tags
From the vault header, choose **Rename** or **Edit tags**, then confirm. Renaming and editing tags each take a single signed action.
 ## Get started
Create, tag, and manage vaults via the API
Add addresses and transfer assets out of a vault
## Get started
Create, tag, and manage vaults via the API
Add addresses and transfer assets out of a vault