policy.approval.pending. We will use this event to trigger a Zapier (or other similar tools) automation that sends an email to the approver.
⭐ Watch the first steps of this tutorial on video ⭐
Scroll to the end of the page to watch the first steps on video!Create the base automation
On Zapier, configure the trigger: “Webhooks by Zapier: Catch Hook” Get the webhook url from that first block: in “Test” and copy the address. It should be an 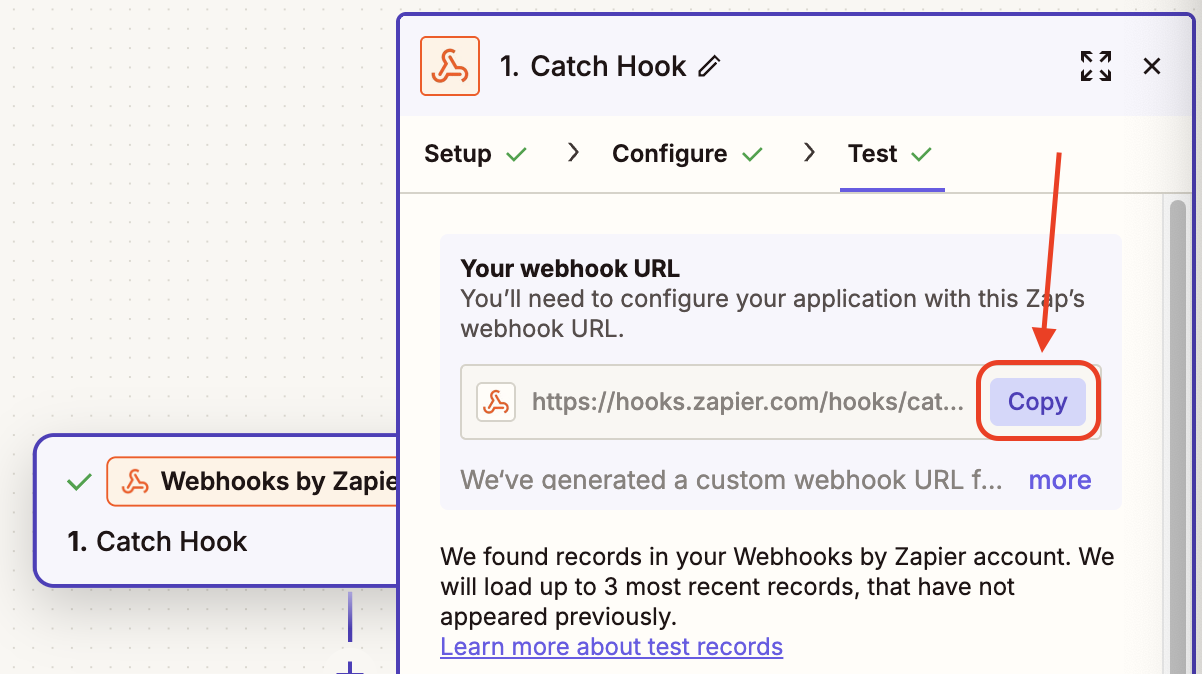
https:// address.Create a Webhook on your Dfns organization
On the Dfns dashboard, navigate to Settings > Webhooks (direct link: https://app.dfns.io/settings/webhooks) and click New Webhook.Copy your Zapier webhook URL into the “url” field, give a description and select “Specific Events” with only “policy.approval.pending”, then save. You will have to 🔑 sign the creation with your passkey.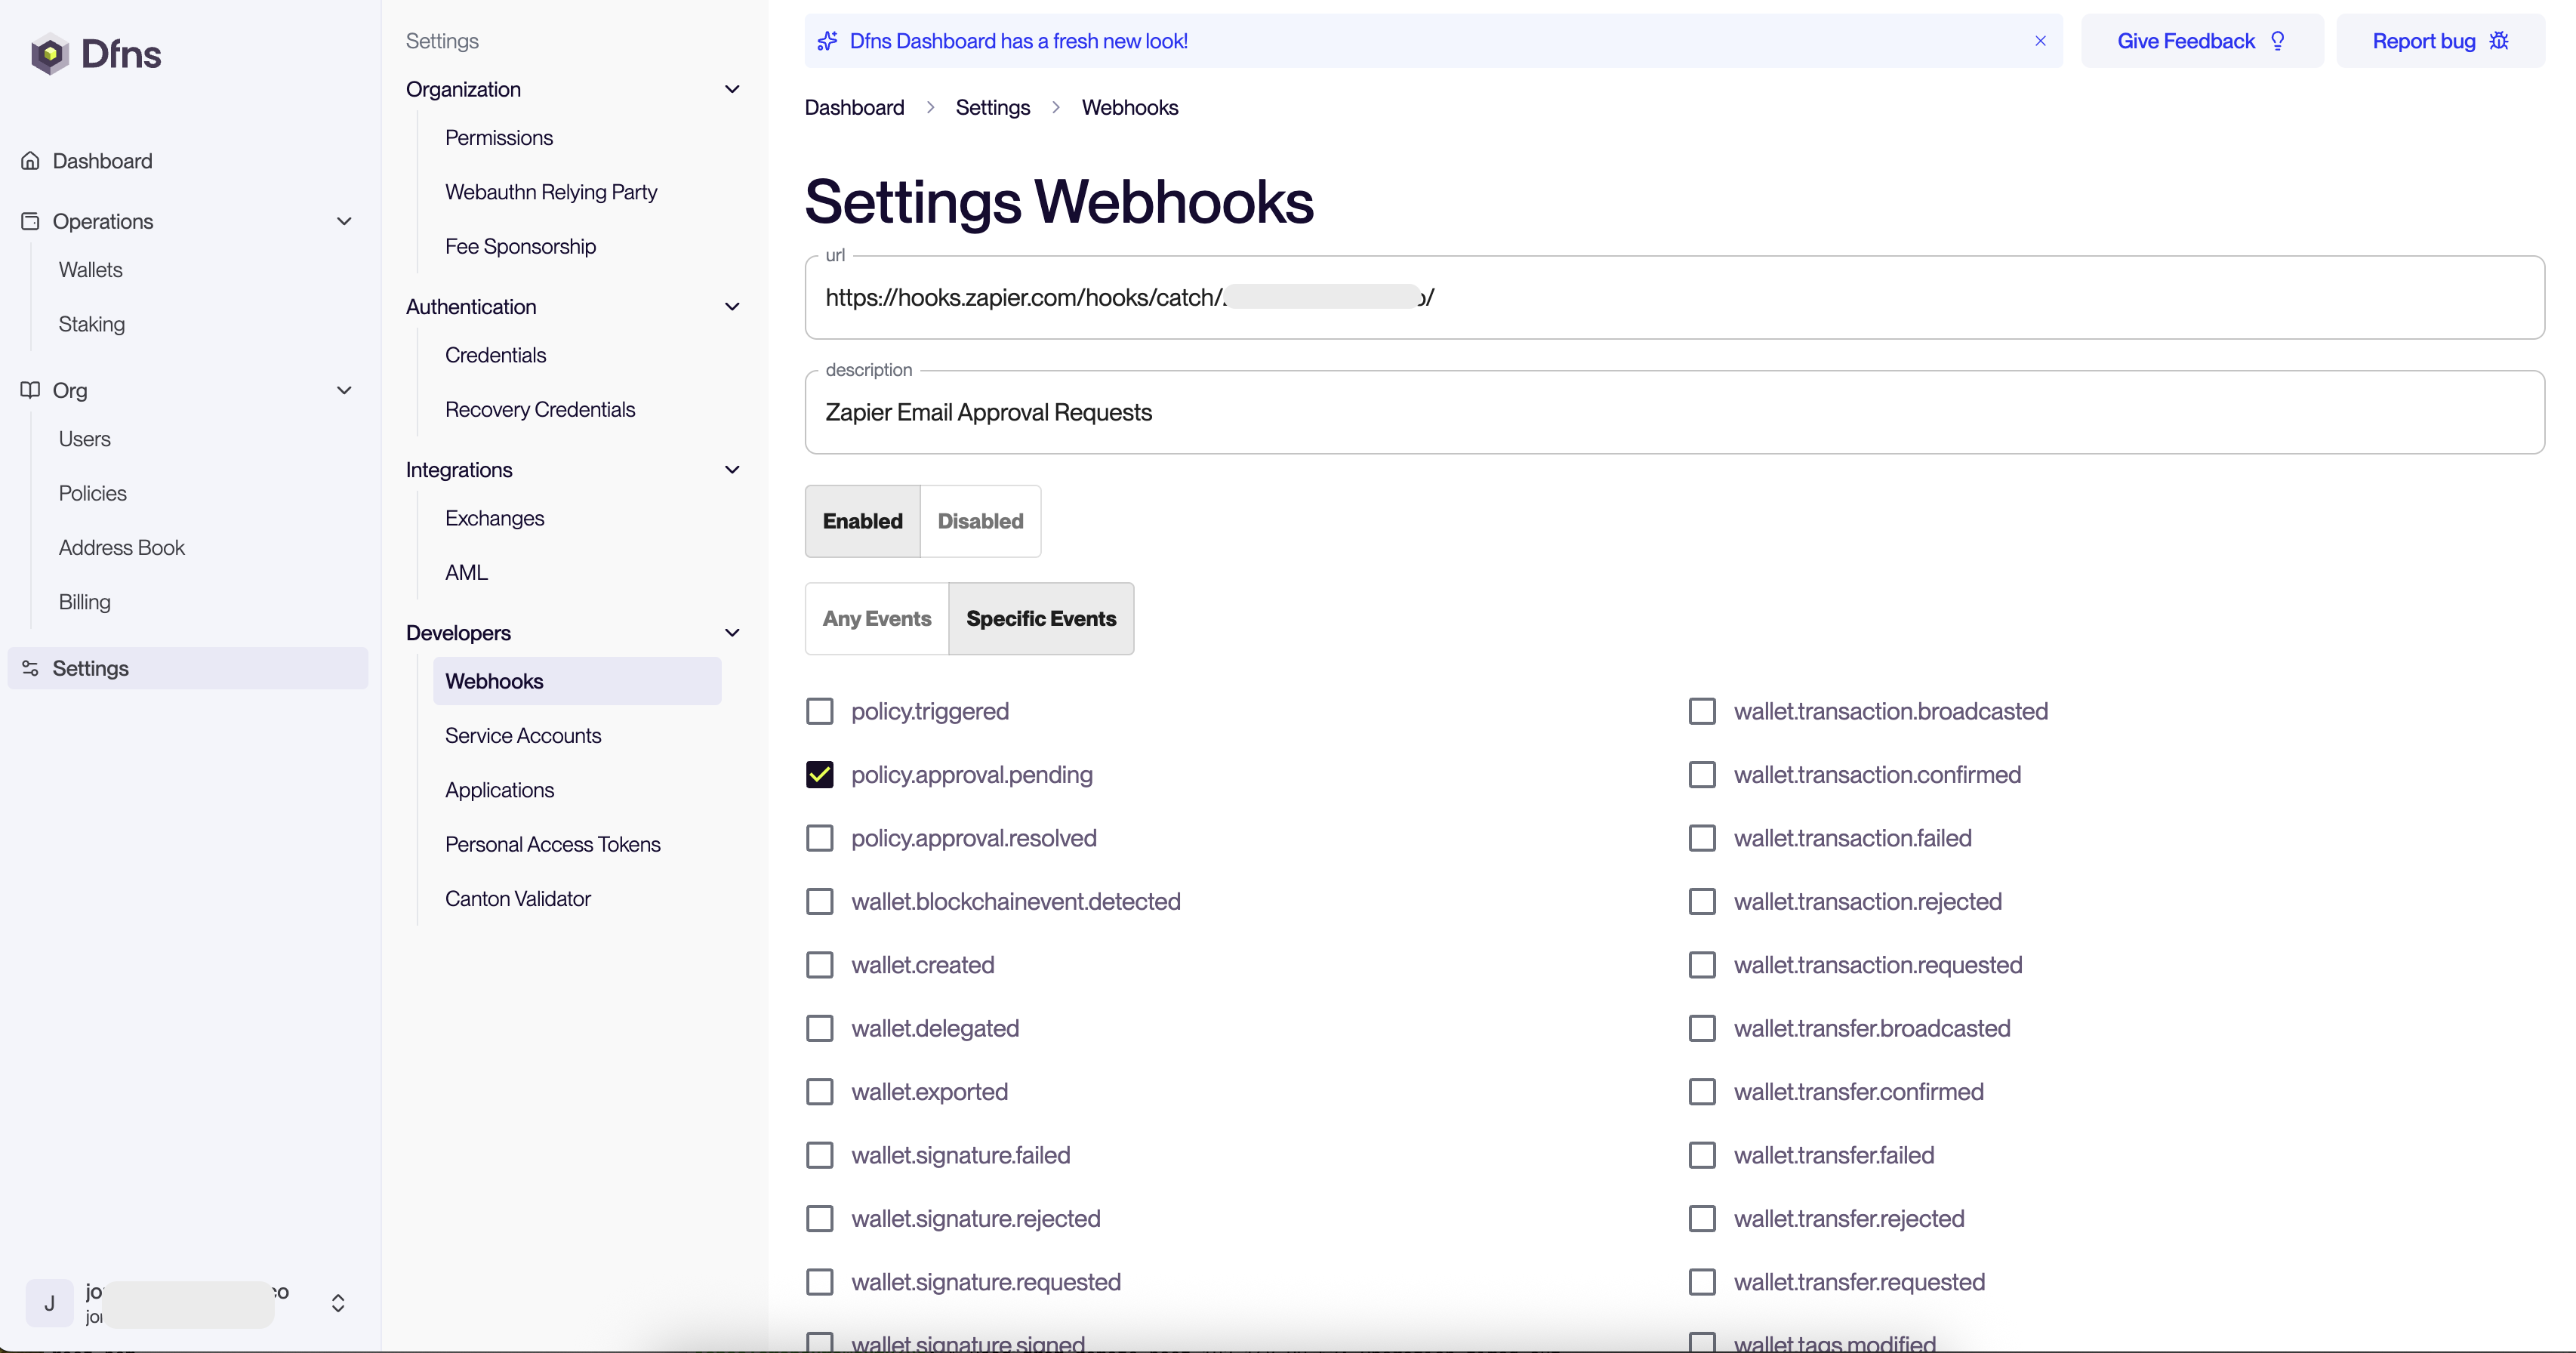
Congratulations, you have the basic architecture to take action when an approval is requested! Now lets configure the actions.
Create a policy to request approval
Make sure you have a policy to trigger. For example a policy that always trigger on transfer requests.You can follow the following tutorial to create it: create-policiesTrigger the policy (for example by requesting a transfer) so that Zapier receives the information and can help you use the data to write an email.
Send an email from your automation
Add an action “Email by Zapier: Send Outbound Email” connected to your Webhook trigger.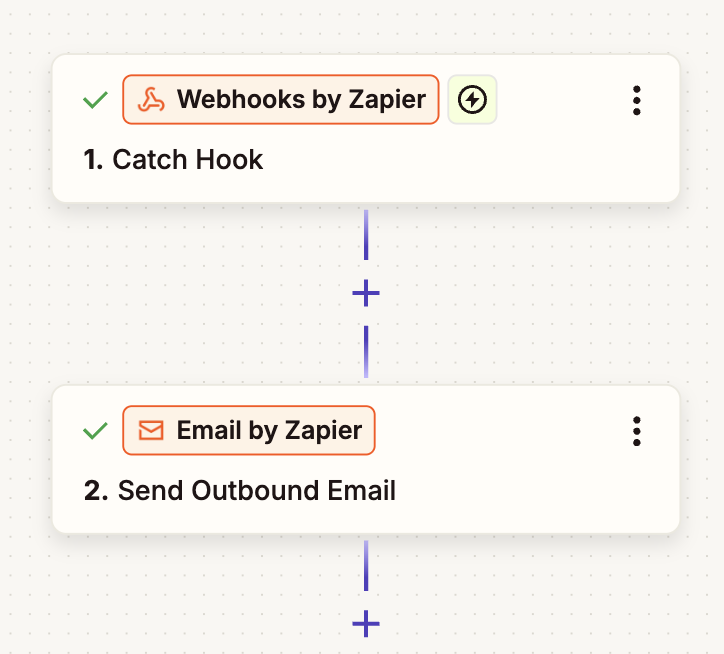
Congratulations! you are now sending an email when an approval has been requested.
Going further: display the amount properly
Dfns displays asset amounts with the network maximum precision, and provides a description of the number of decimals. So in order to display the amount properly, you need to divide by . In the example below: 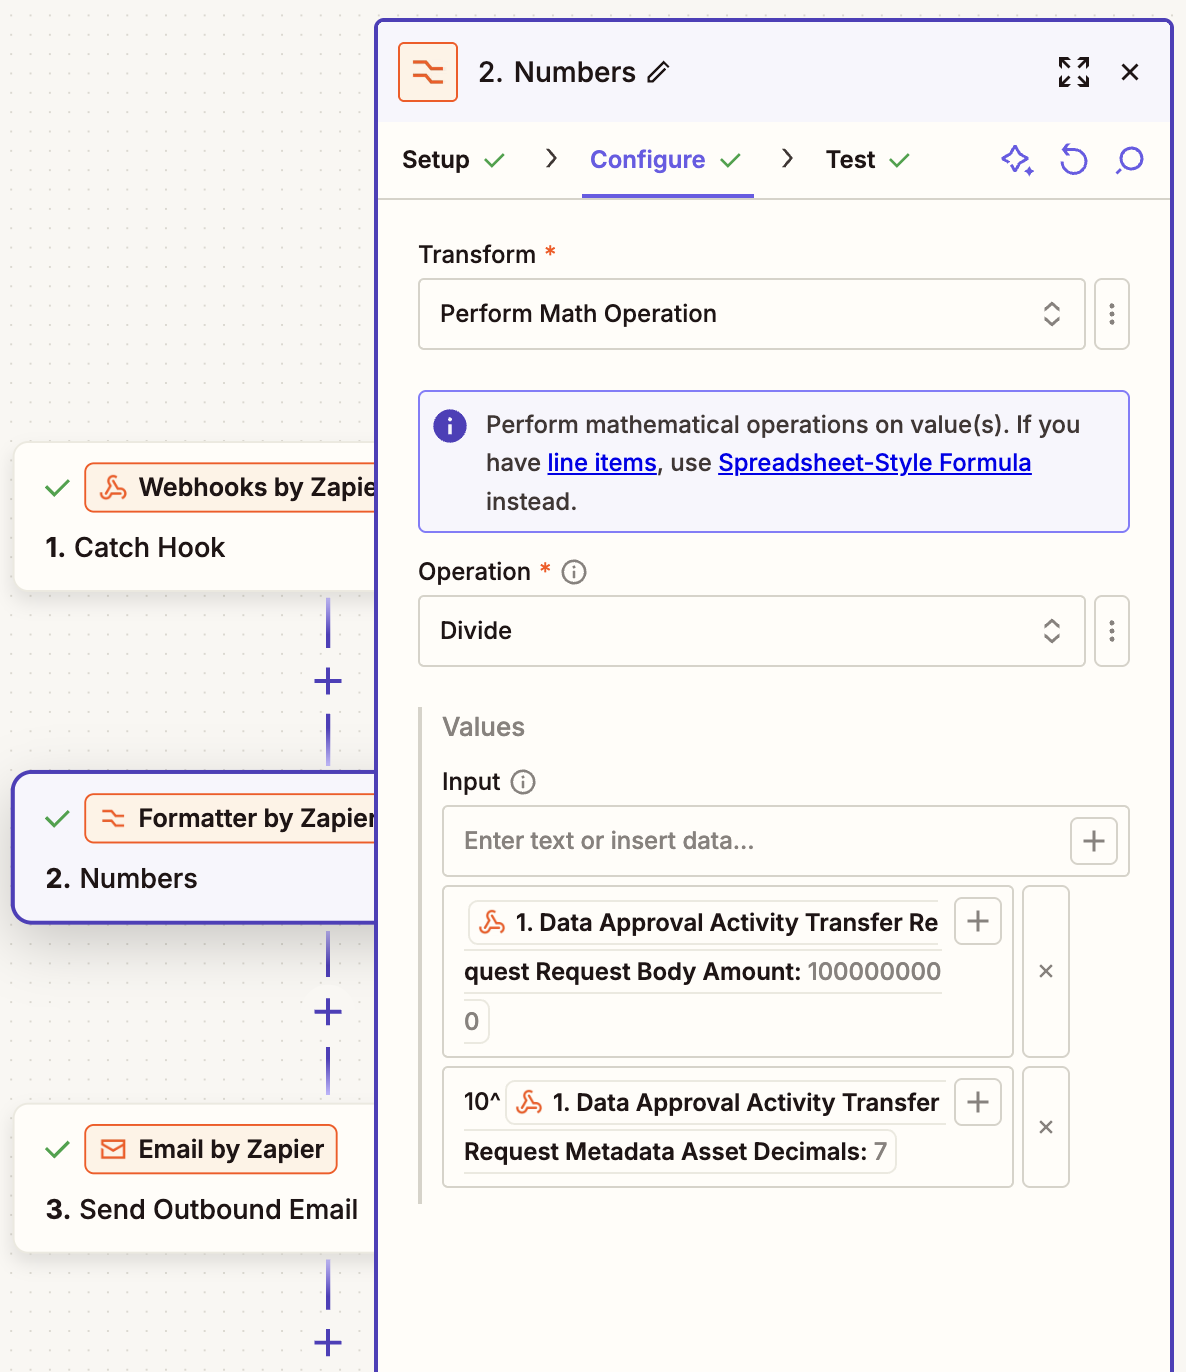
1000000000 for 7 decimals so units!In Zapier, insert a block “Formatter by Zapier: Numbers” before the email block.Configure the fields:- Transform: Perform Math Operation
- Operation: Divide
- Input:
- [1. Amount]
- 10^[1. Asset Decimals]
Congratulations! you are now displaying non-trivial information to your email recipient!
Going even further: query additional information about the request
Dfns provides a wide-range catalog of APIs to refine your email.For instance, the webhook sends the “Initiator Id” (Publish and trigger a policy to test again!
us-*****-*****-********), which represents the user who triggered the policy. Let’s get his information and include those in the email!You need a token to access the API. The best way is to create a service account, follow the tutorial on the page: Dfns API using a service account until you get a token. For rapid testing you can also copy your current session token from the dashboard (Settings > Personal Access Tokens > Copy the JWT token) but this token expires quickly so it’s only good for temporary testing.Copy your tokenIn Zapier, add a “Webhooks by Zapier: GET” after the formatter block, and configure the following fields:- URL:
https://api.dfns.io/auth/users/[1. Requester User Id] - Headers: add one called Authorization, with value: “
Bearer <paste your token>”
Congratulations! you are now displaying non-trivial information to your email recipient!